How to Make a Starfish Stamp
My last post was “calling for ALL CREATIVE IDEAS” on this Media Couch that is for auction at our elementary school. I decided on the theme of FLORIDA and started with a starfish stamp that I made . . . after watching A LOT of YouTube videos!
This post will show you How to Make a Starfish Stamp as BIG or LITTLE as you like. It’s easy and affordable (since BIG stamps can get pricey).
I also made a reverse appliqué starfish that the 6th graders are going to tackle this week. They are going to paint the state of FLORIDA on the top of the couch . . . but that will be a later post!
For now, let’s get started on the STARFISH STAMP!
INSTRUCTIONS:
Materials: Foam paper stars, scissors, pencil, glue dots, gatorade top, bottle cap, paint, foam brush.
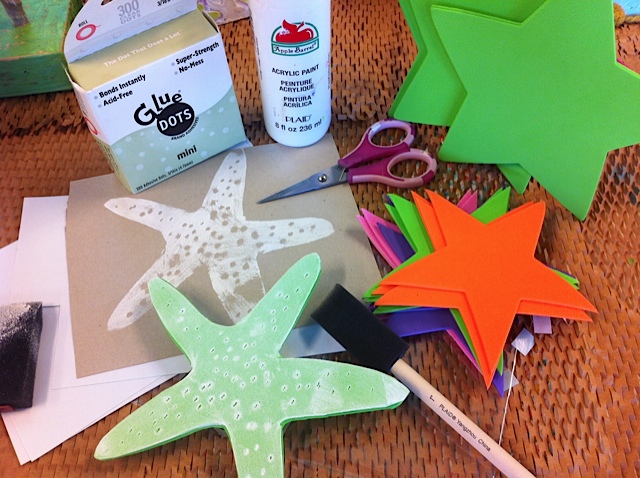
These are the materials you will need to begin making your stamp.
Step ONE:
Using the glue dots, glue two star foam sheets together. Cut off sharp tips to form a starfish shape. (Look online to view starfish.) Next, puncture the center with your scissors to make inner design.
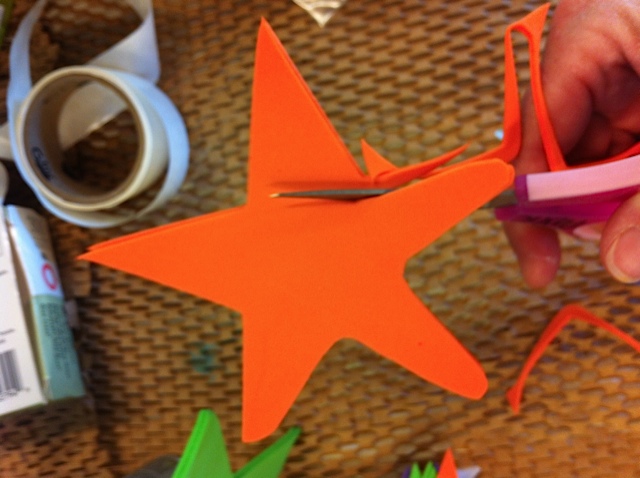
Once glued together, round off edges with scissors to create a starfish shape.
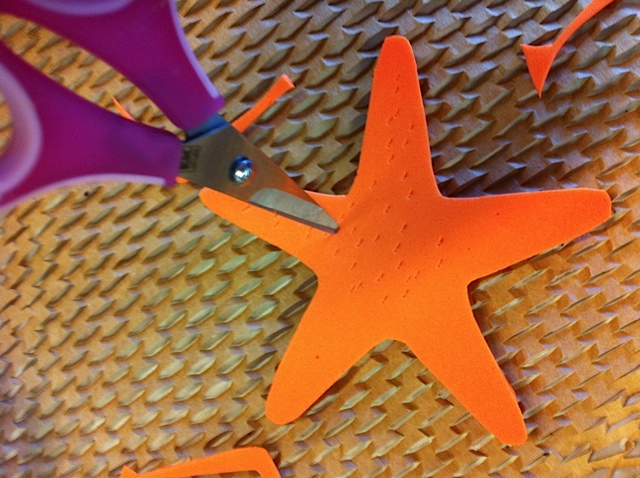
Puncture the starfish to make indentions.
Step TWO:
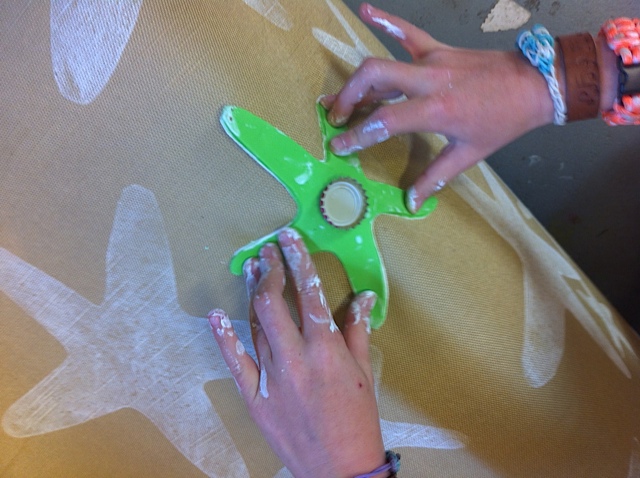
Using the glue dots, glue a gatorade or a soda bottle top to the back of your starfish to create a handle.
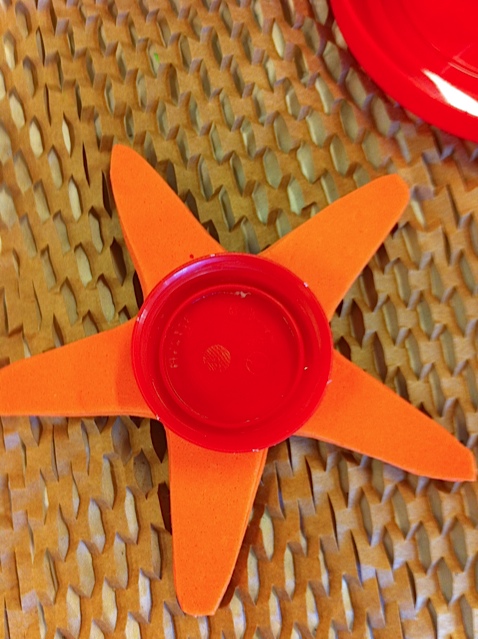
Glue a bottle top onto the back of the starfish.
Step THREE:
Using foam brush, paint the stamp with your chosen color. (I used acrylic paint.) After a couple of “stampings,” use the tip of your paintbrush to re-puncture the surface to make designs in the center of your stamp.
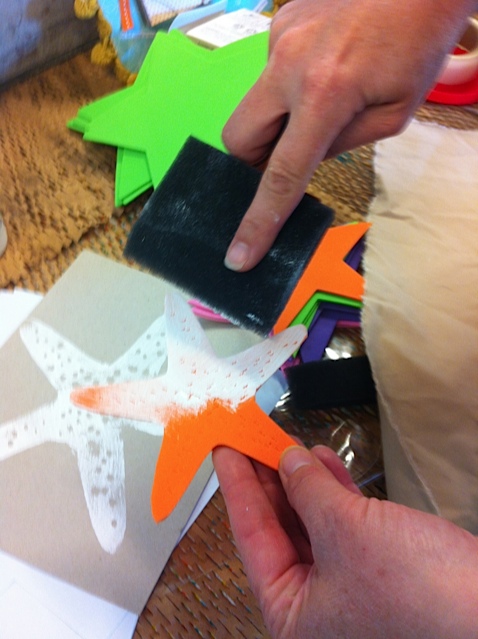
Paint on your color to make your stamp.
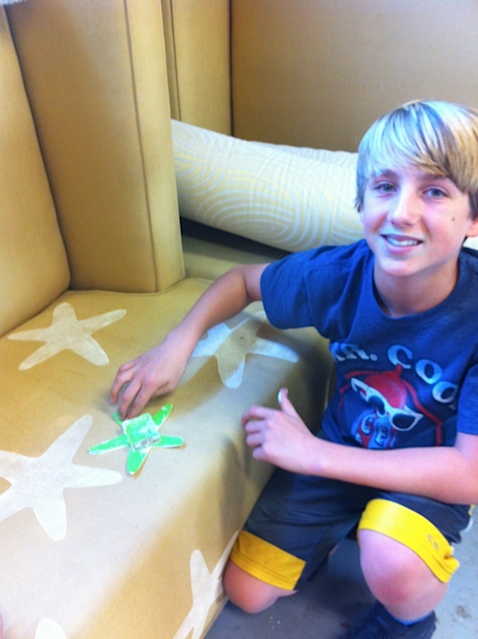
STEP FOUR:
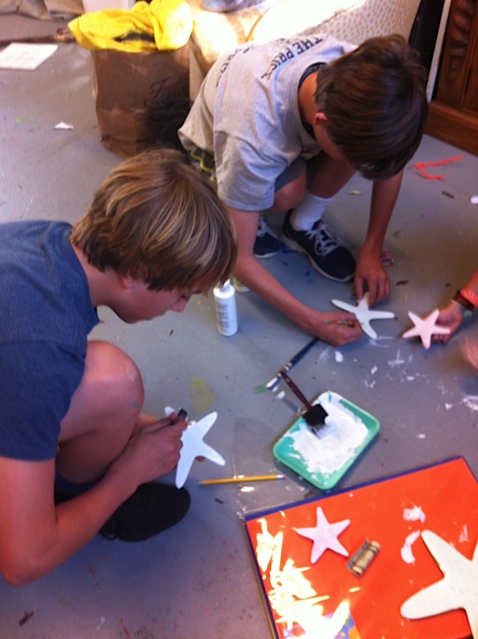
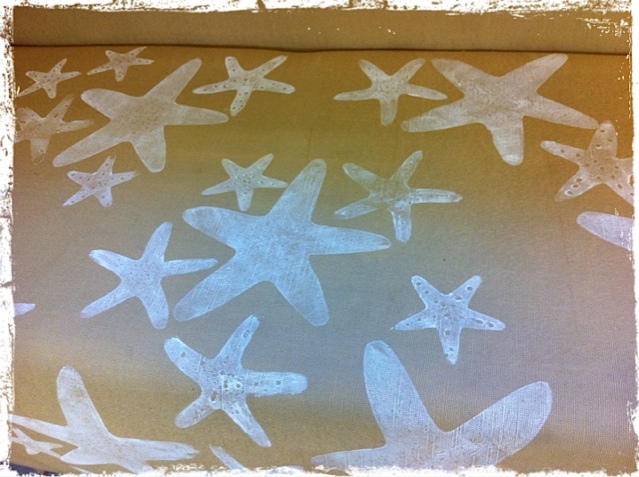
Stamp your fabric or paper!
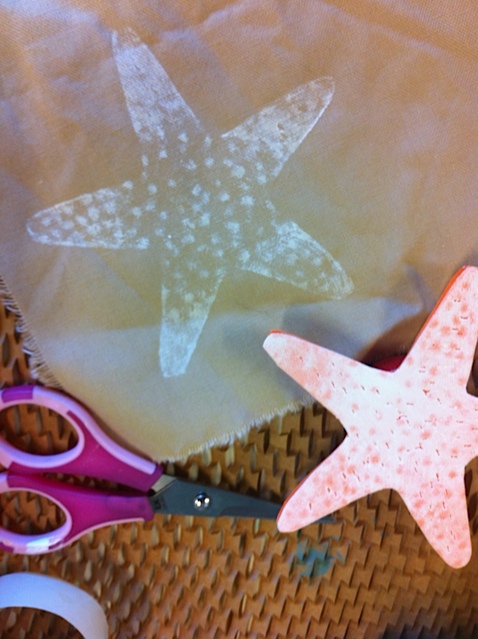
Finished stamp!
TIPS:
• To get the BIGGER STAMP, I used two LARGE pieces of foam, drew a starfish, then followed steps one-four. Be creative and create other patterns!
• FABRIC MEDIUM: If you mix fabric medium with your acrylic paint, it will be “softer.” This can be purchased at any craft store. Follow instructions on the back of the bottle.
• SANDING: Sanding the fabric after it dries will get rid of the rough layer of acrylic paint!
• STAMPS are great for any gift, paper crafting, t-shirts designs, scrapbooking, and more.
• WASH: To wash your stamp, simply use soap and water before the paint dries.
Even before I knew God, I believe He had his hand on me and used art to helped keep me from all the pain and sadness that results from boredom and hanging out with the wrong crowd for kicks and a false sense of acceptance. This post has inspired me to create an art based after school center to spark that creativity in other adolescent girls as well. Retirement is just around the corner for me, and I have been wondering how God could use me and found it here. Fun for me, too! Thank you! Yvonne