art, art project, Bible Study, Center piece, fabric art, Faith, fundraiser, on budget, PLANTED, scripture, service project, ThouArtExalted, Women
How to make "TREE" Centerpieces!
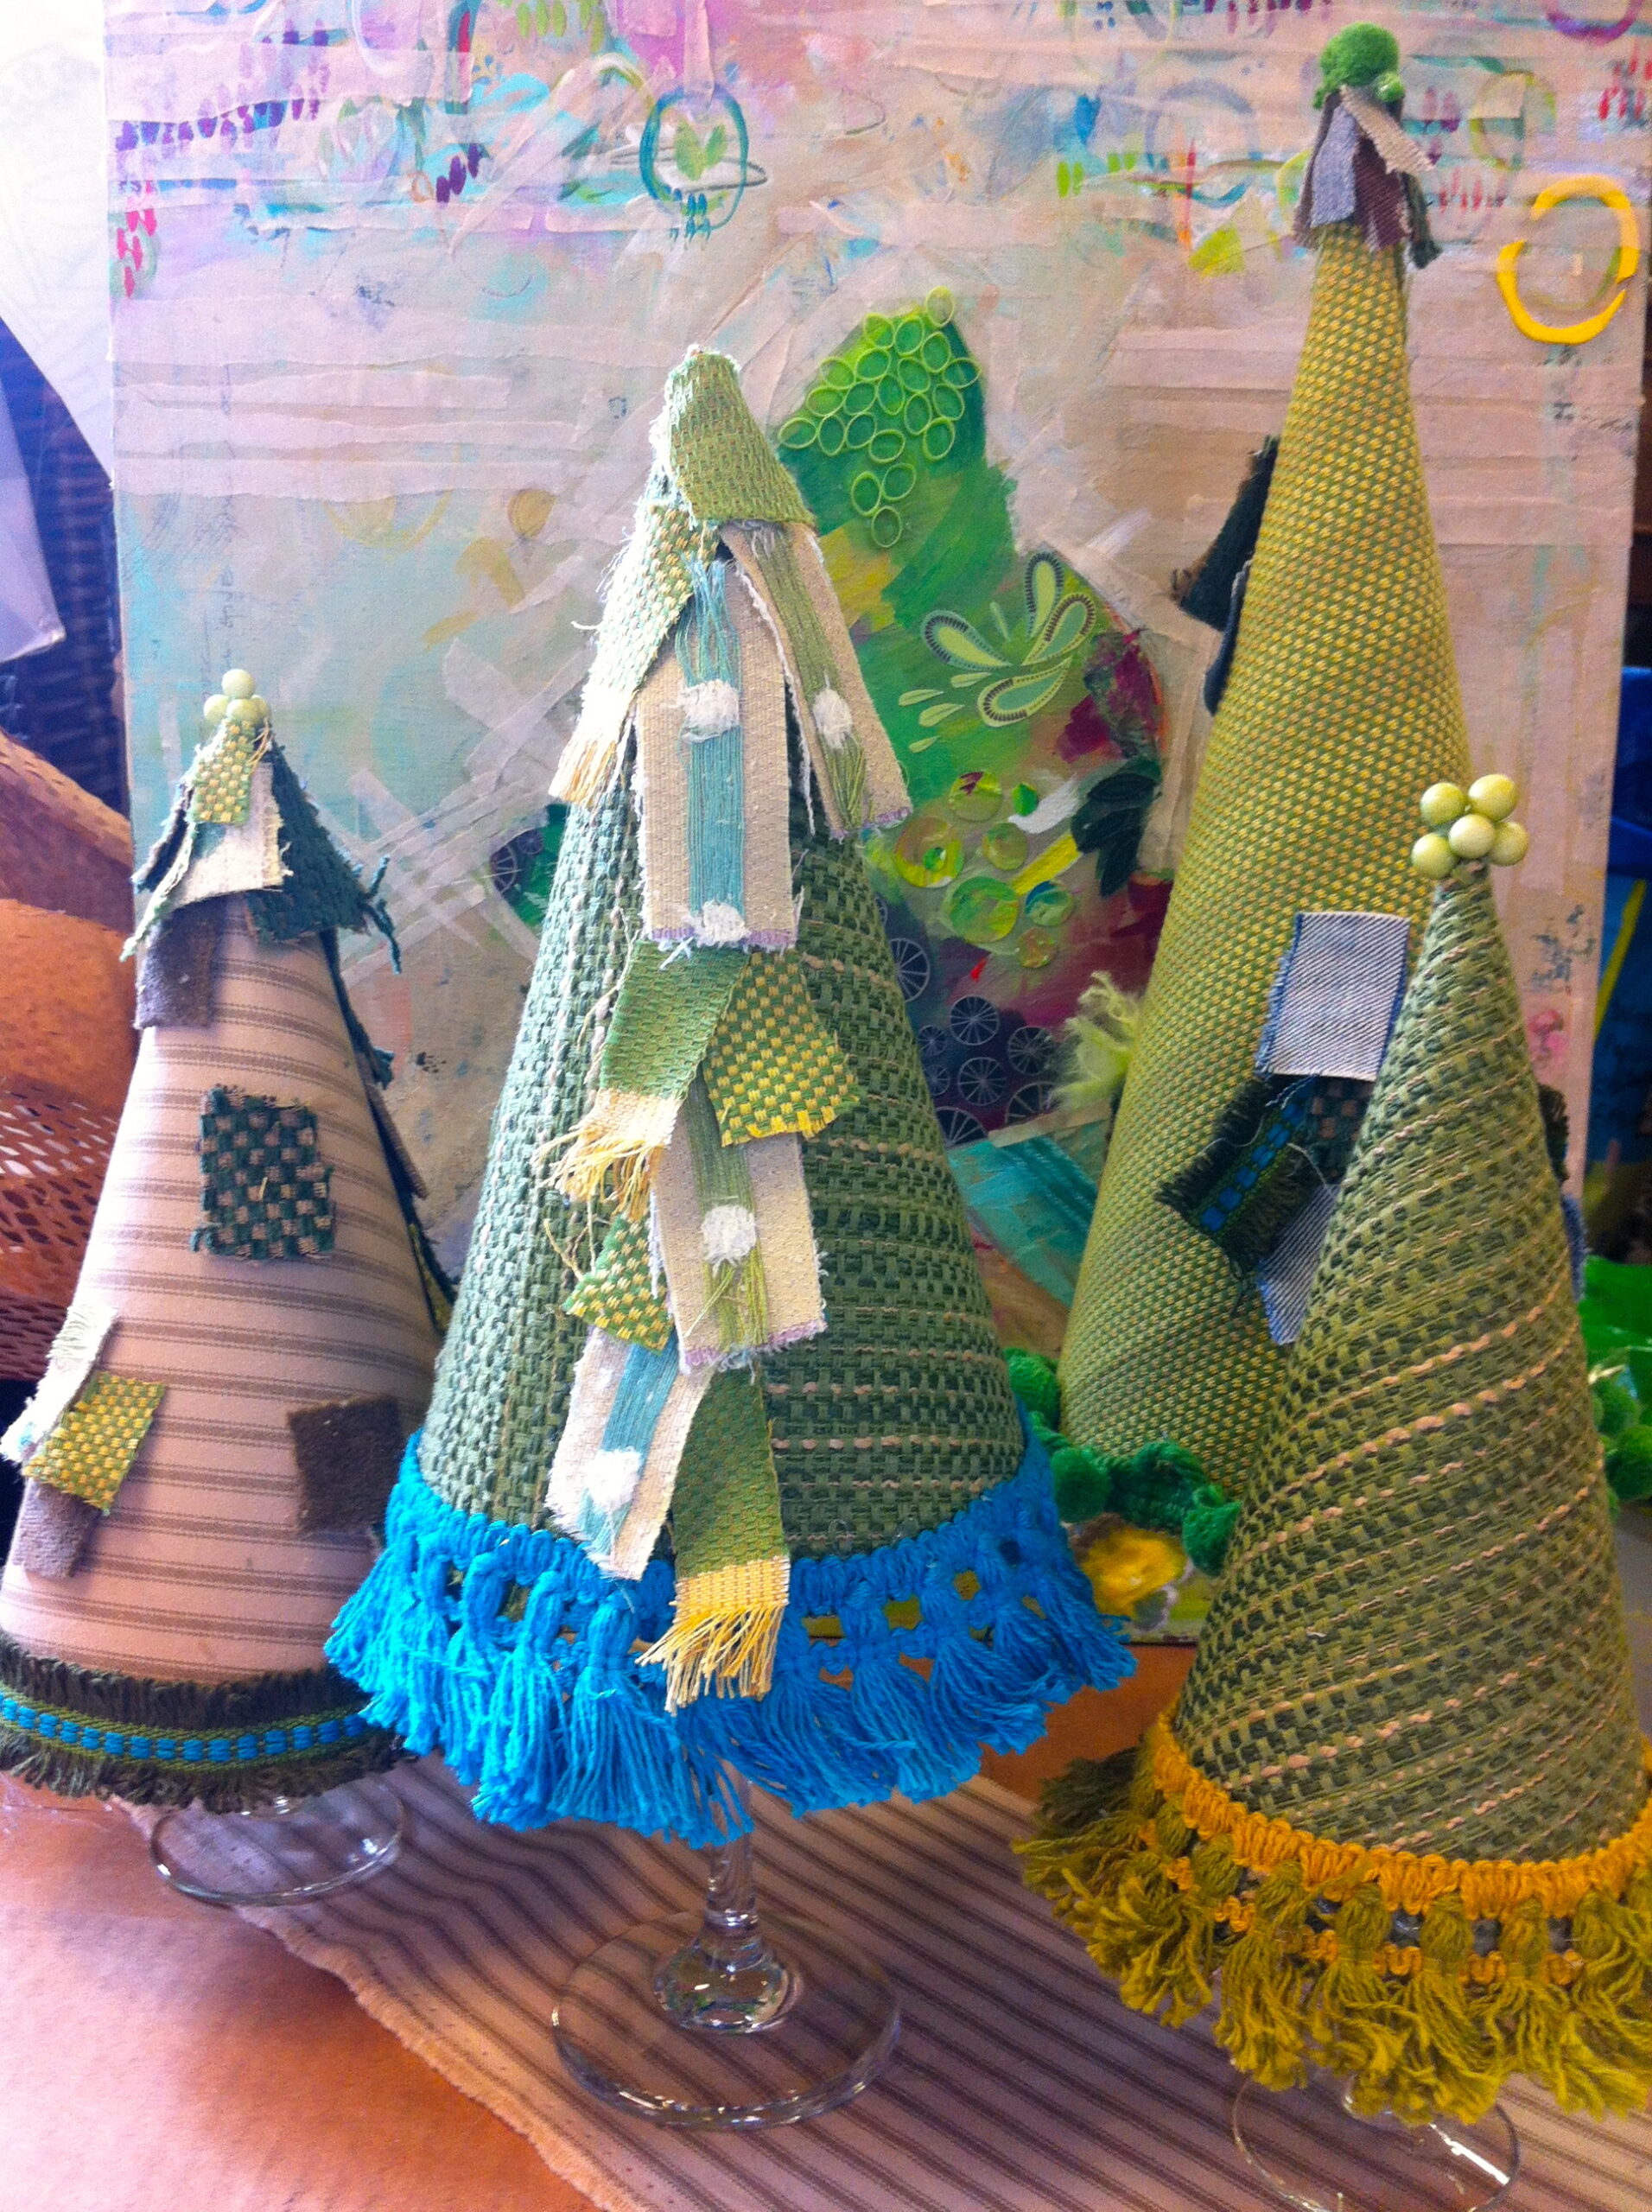
This is a great way to make a “WOW” impact at a low cost.
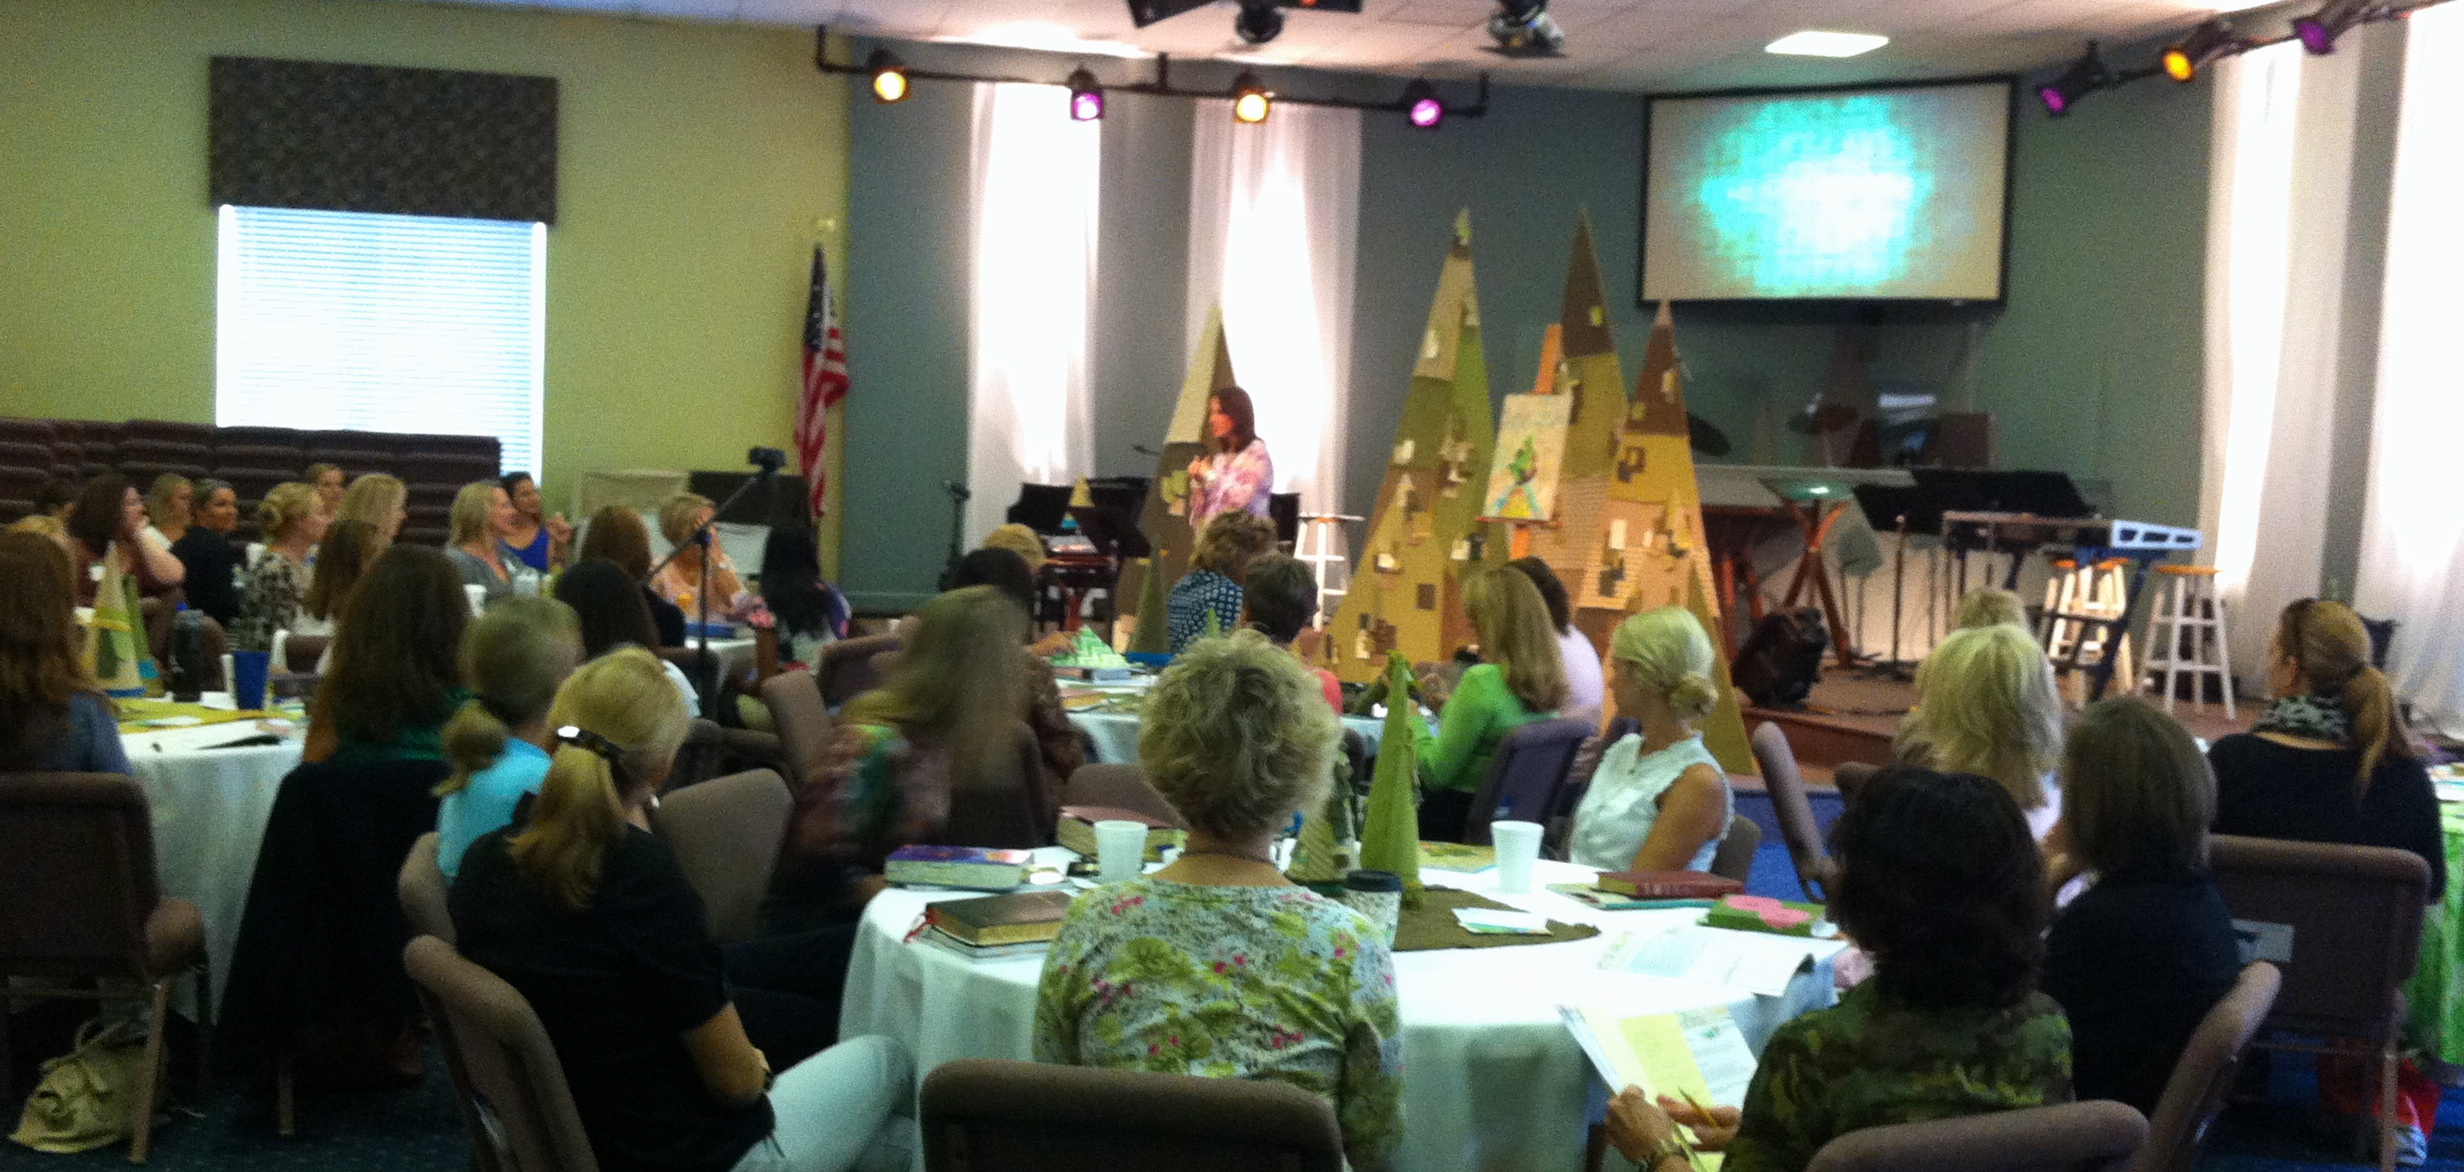
I have written a Women’s Bible Study called PLANTED: Sit, Stand, and Walk with Jesus and needed centerpieces for all the tables in our fellowship hall. I mean, women NEED centerpieces, right? I saw this idea on Pinterest and took the art a bit further to match the trees I had built for my background (that “how-to” will be another post!).
Follow these instructions to make these AWESOME “tree” centerpieces.
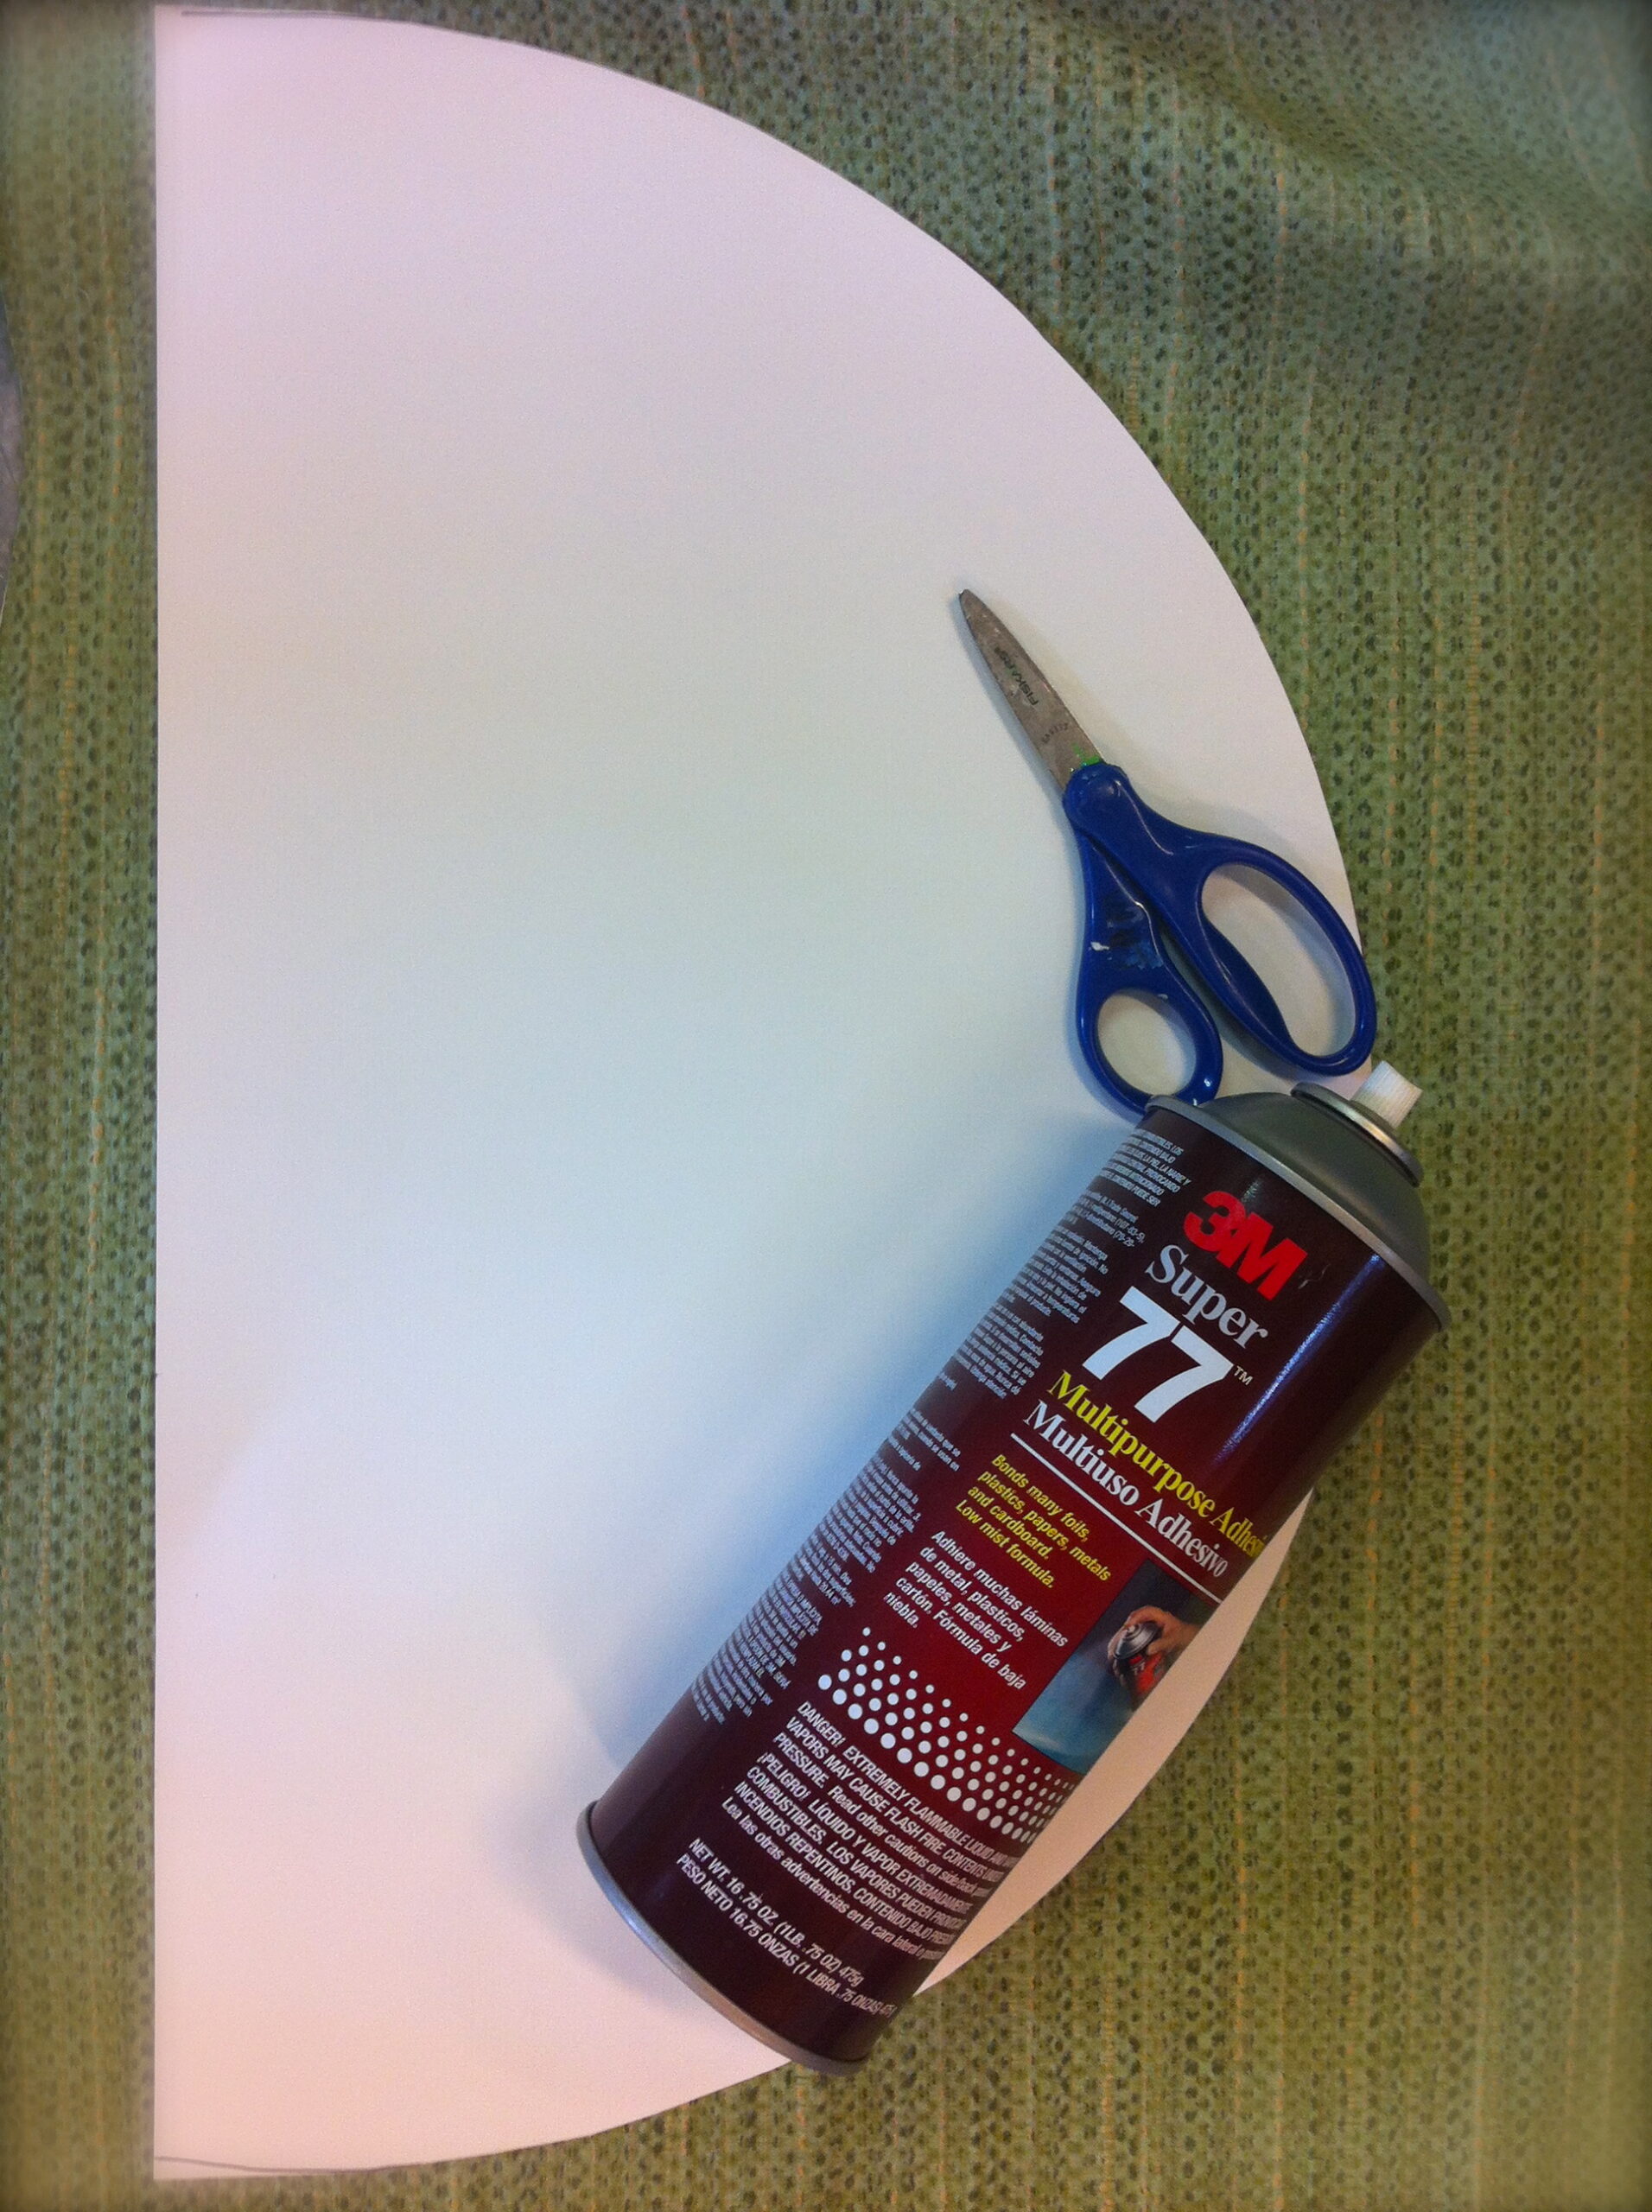
Materials Needed:
- Various Size Wine Glasses (Dollar Tree)
- Large White Poster Paper (Dollar Tree)
- Pencil, Scissors, Glue Gun, and Glue Sticks (Dollar Tree)
- Fabric
- Spray Mount : 3M Spray Adhesive works the best!
- Trim and additional SHIZAM!
STEP ONE: (picture underneath instruction)
- Go to the Dollar Tree and buy different size wine glasses. This will be the base for your “tree.” While you are there, pick up some large poster paper, glue sticks, and a glue gun (if you need them).

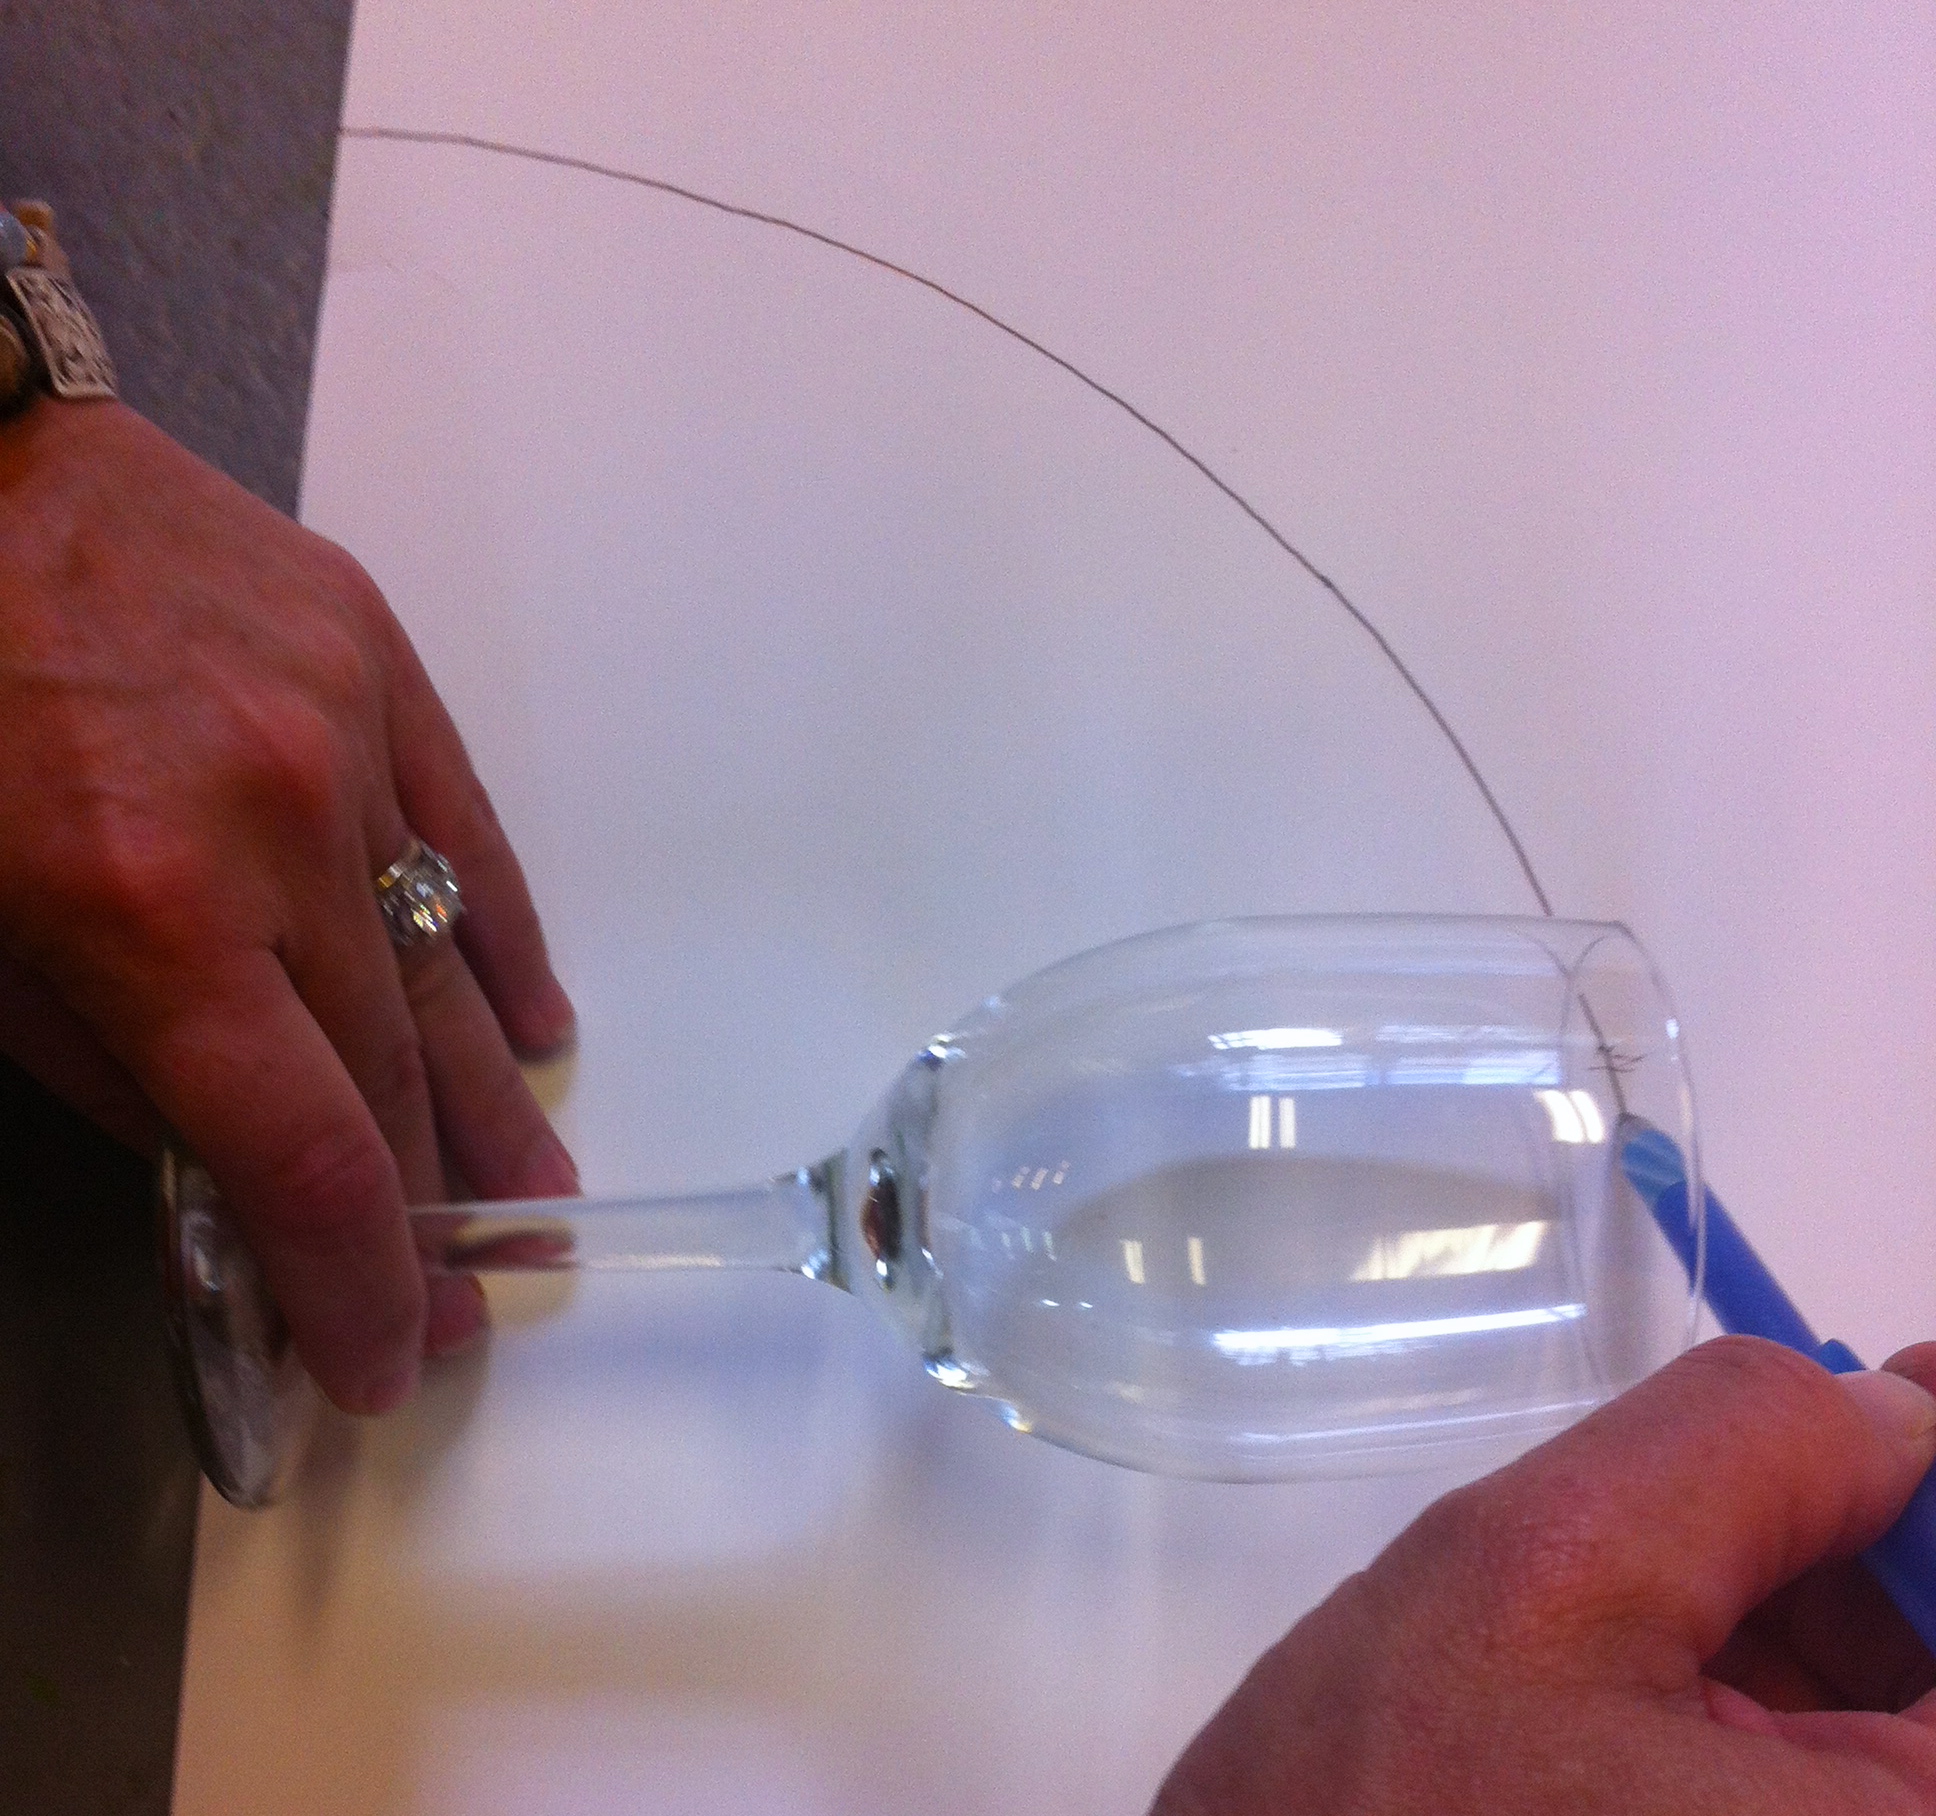
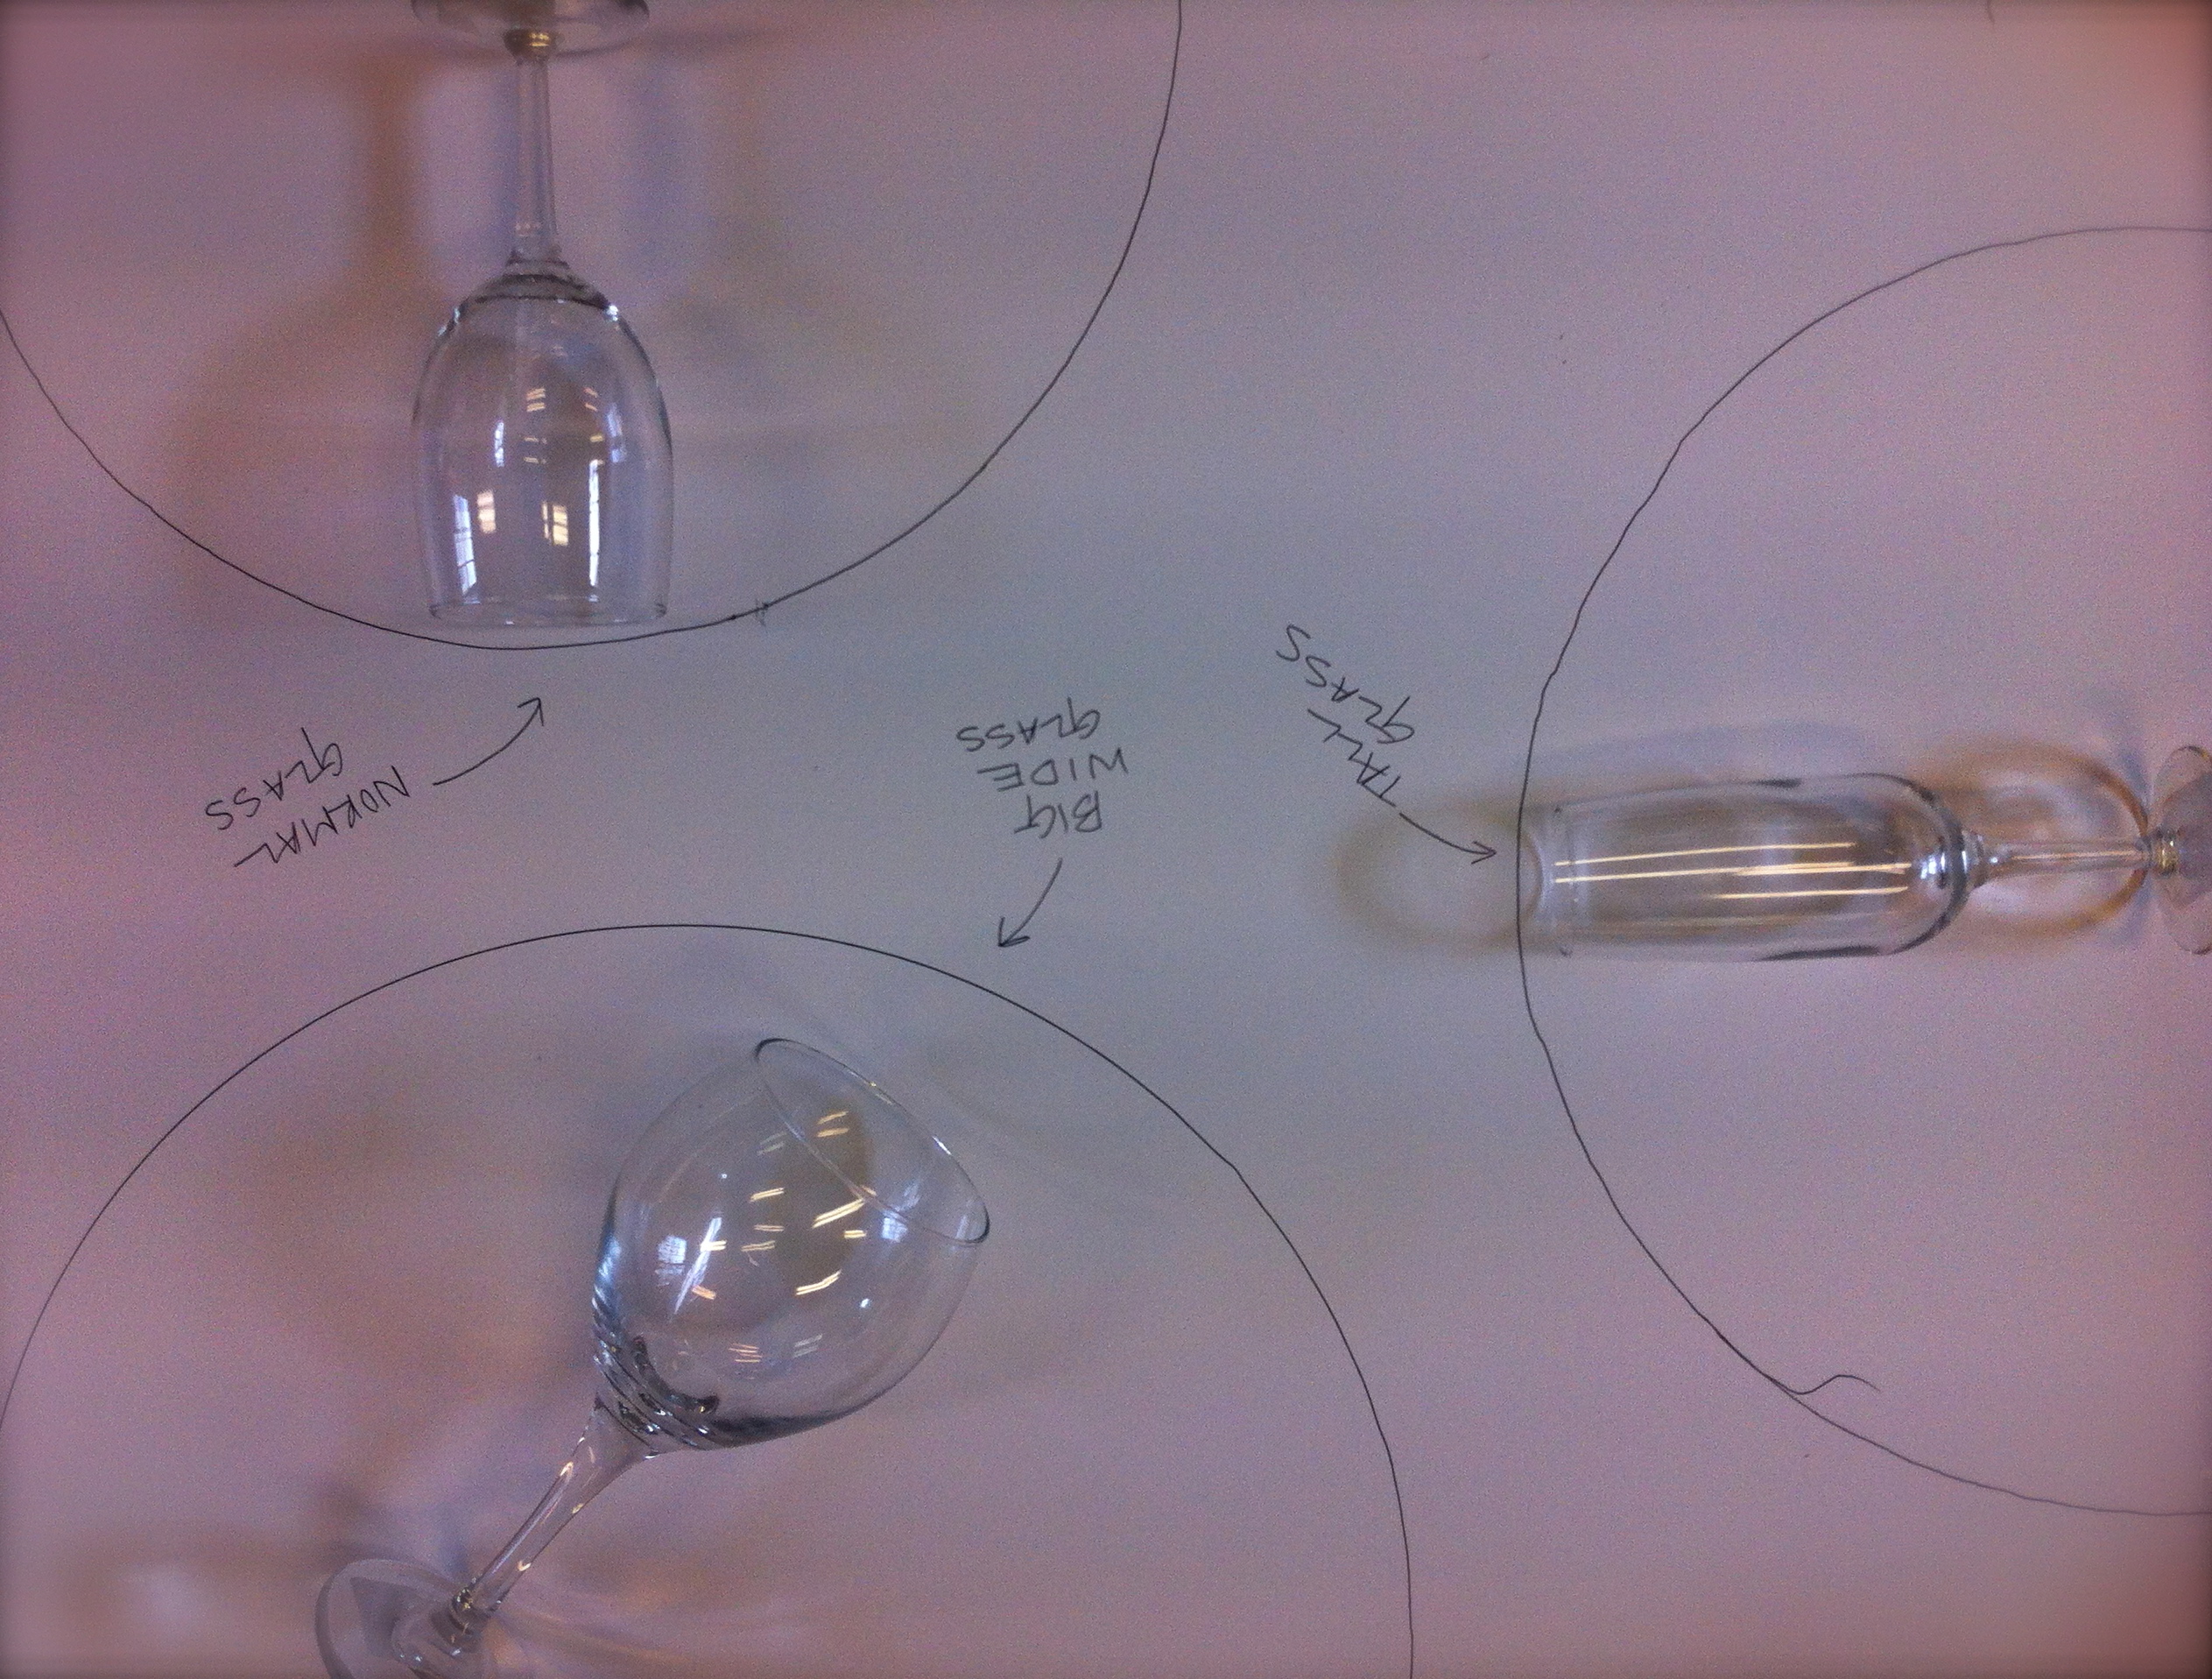
STEP TWO:
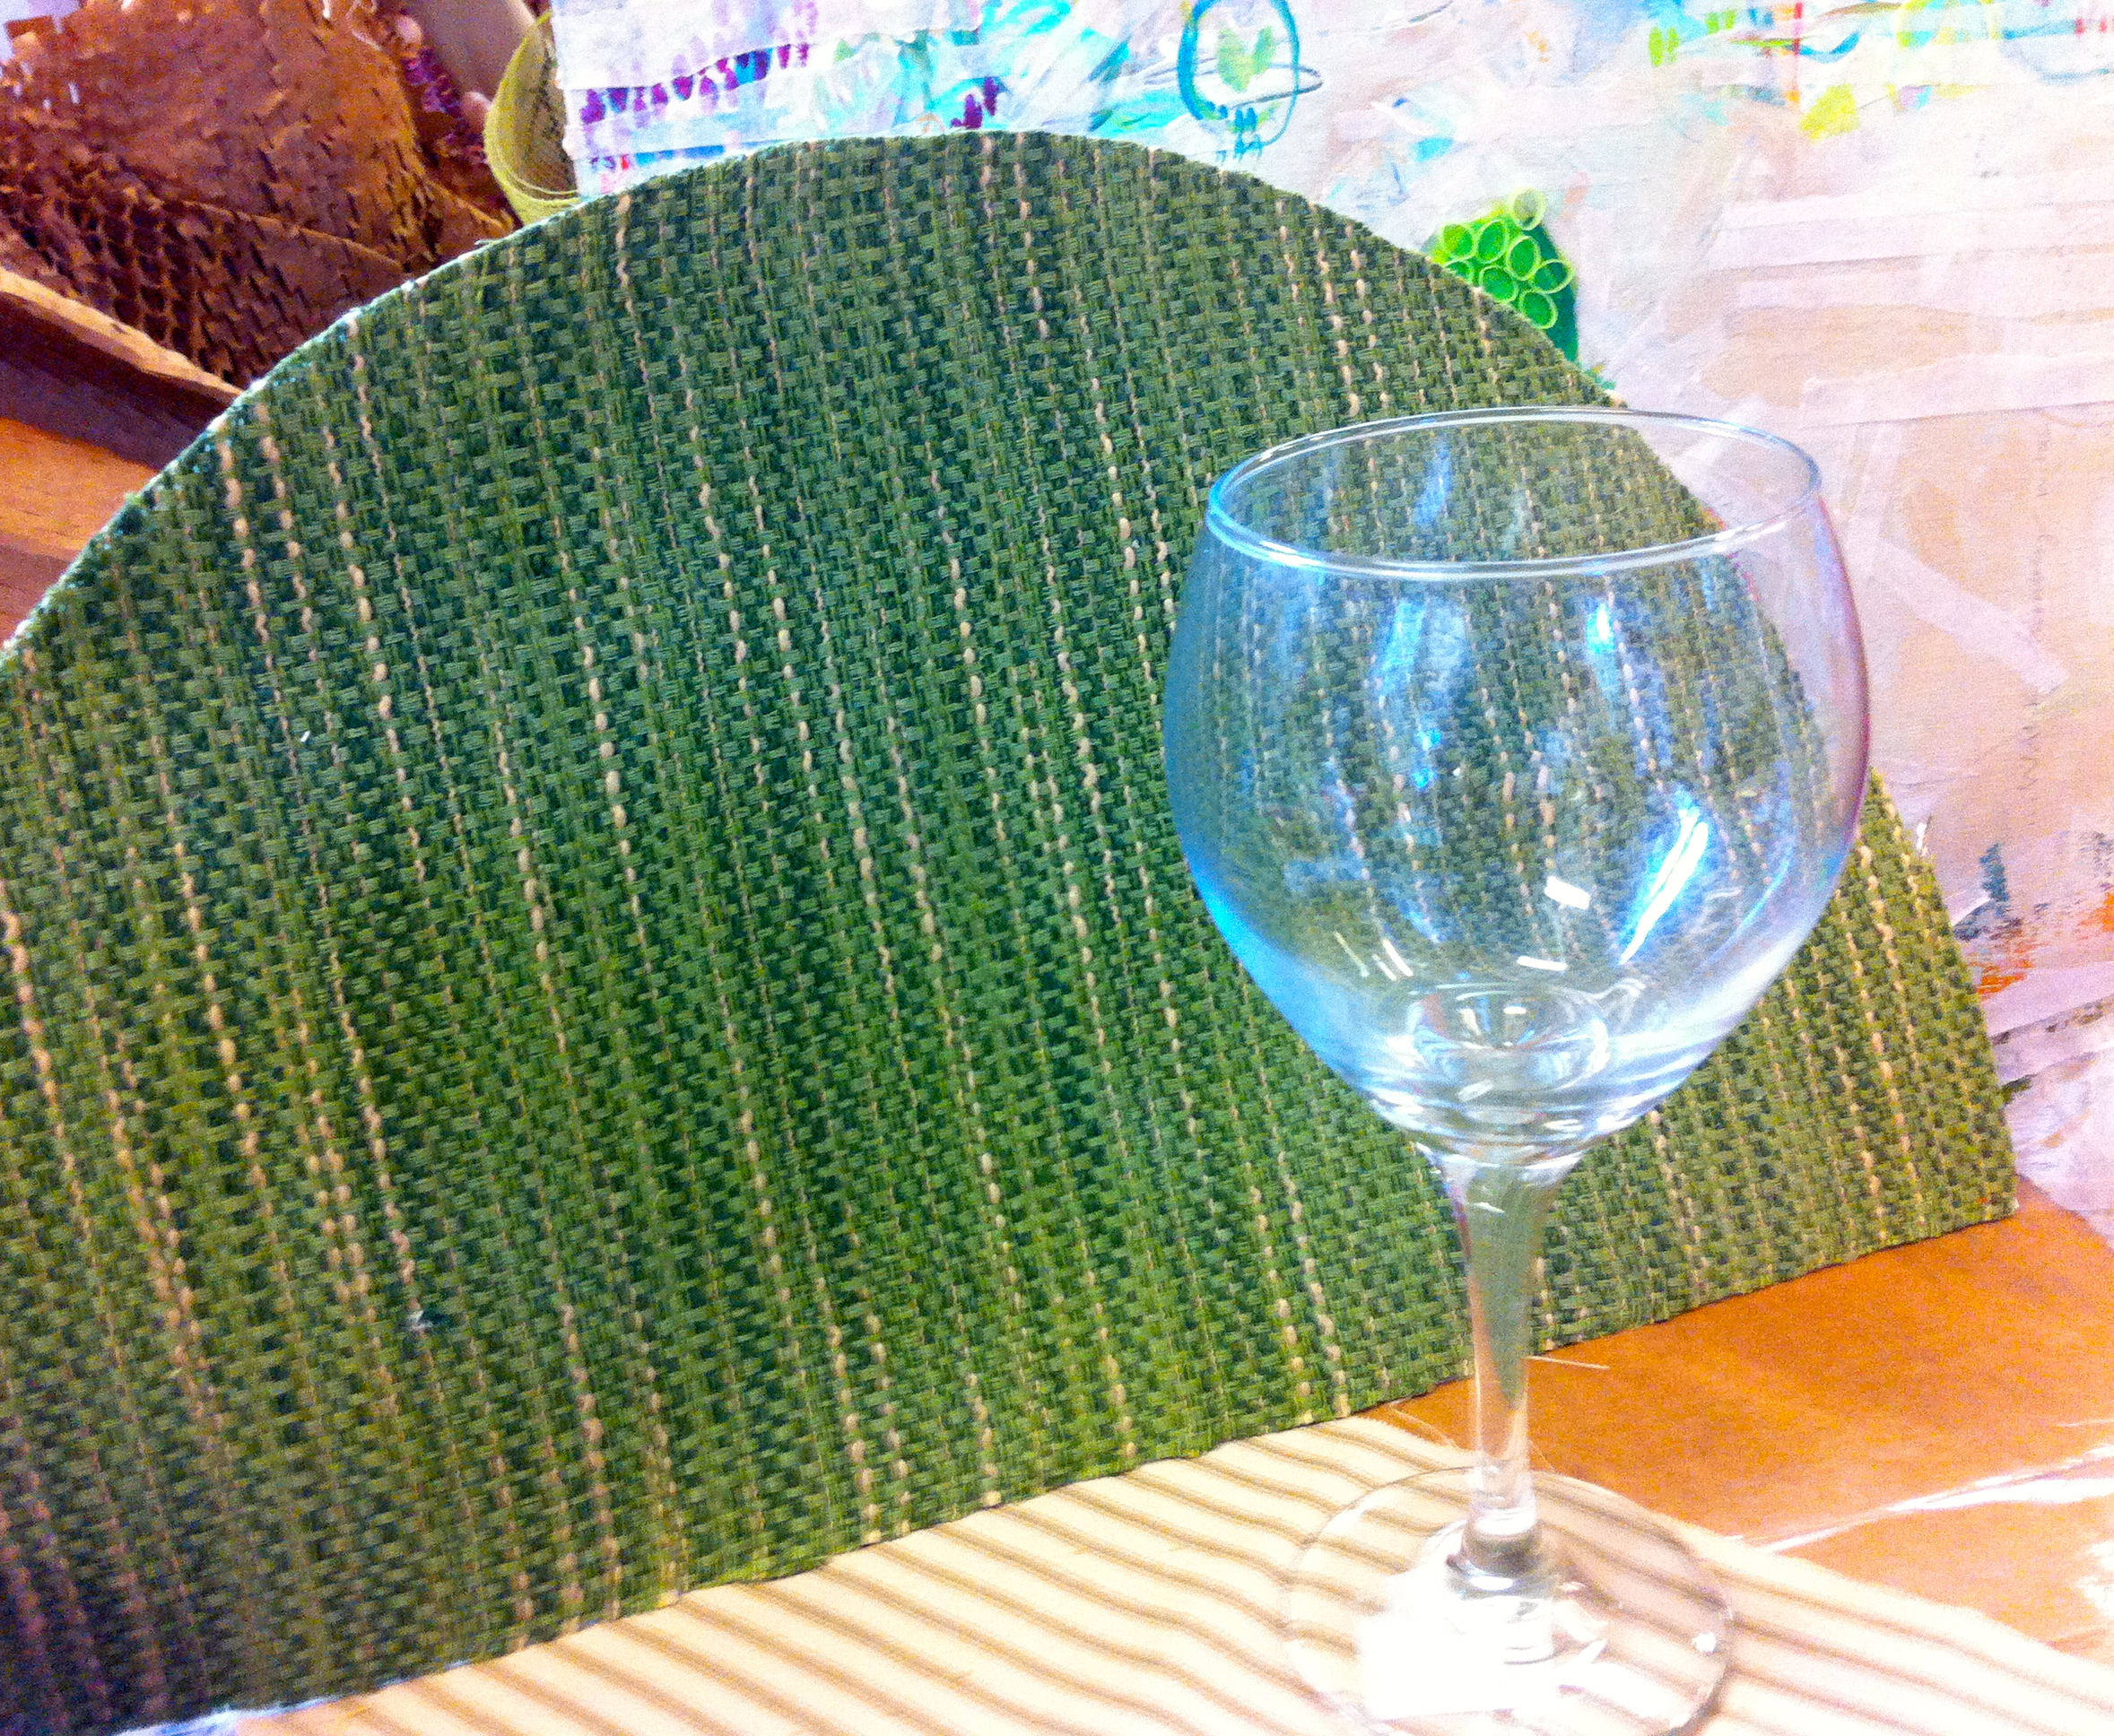
- Take a pencil and using your wine glass like a protractor, trace a semi-circle onto your poster paper.


STEP THREE:
- Cut out your template. Using 3M Spray Mount, glue your fabric onto the poster board and cut out again.


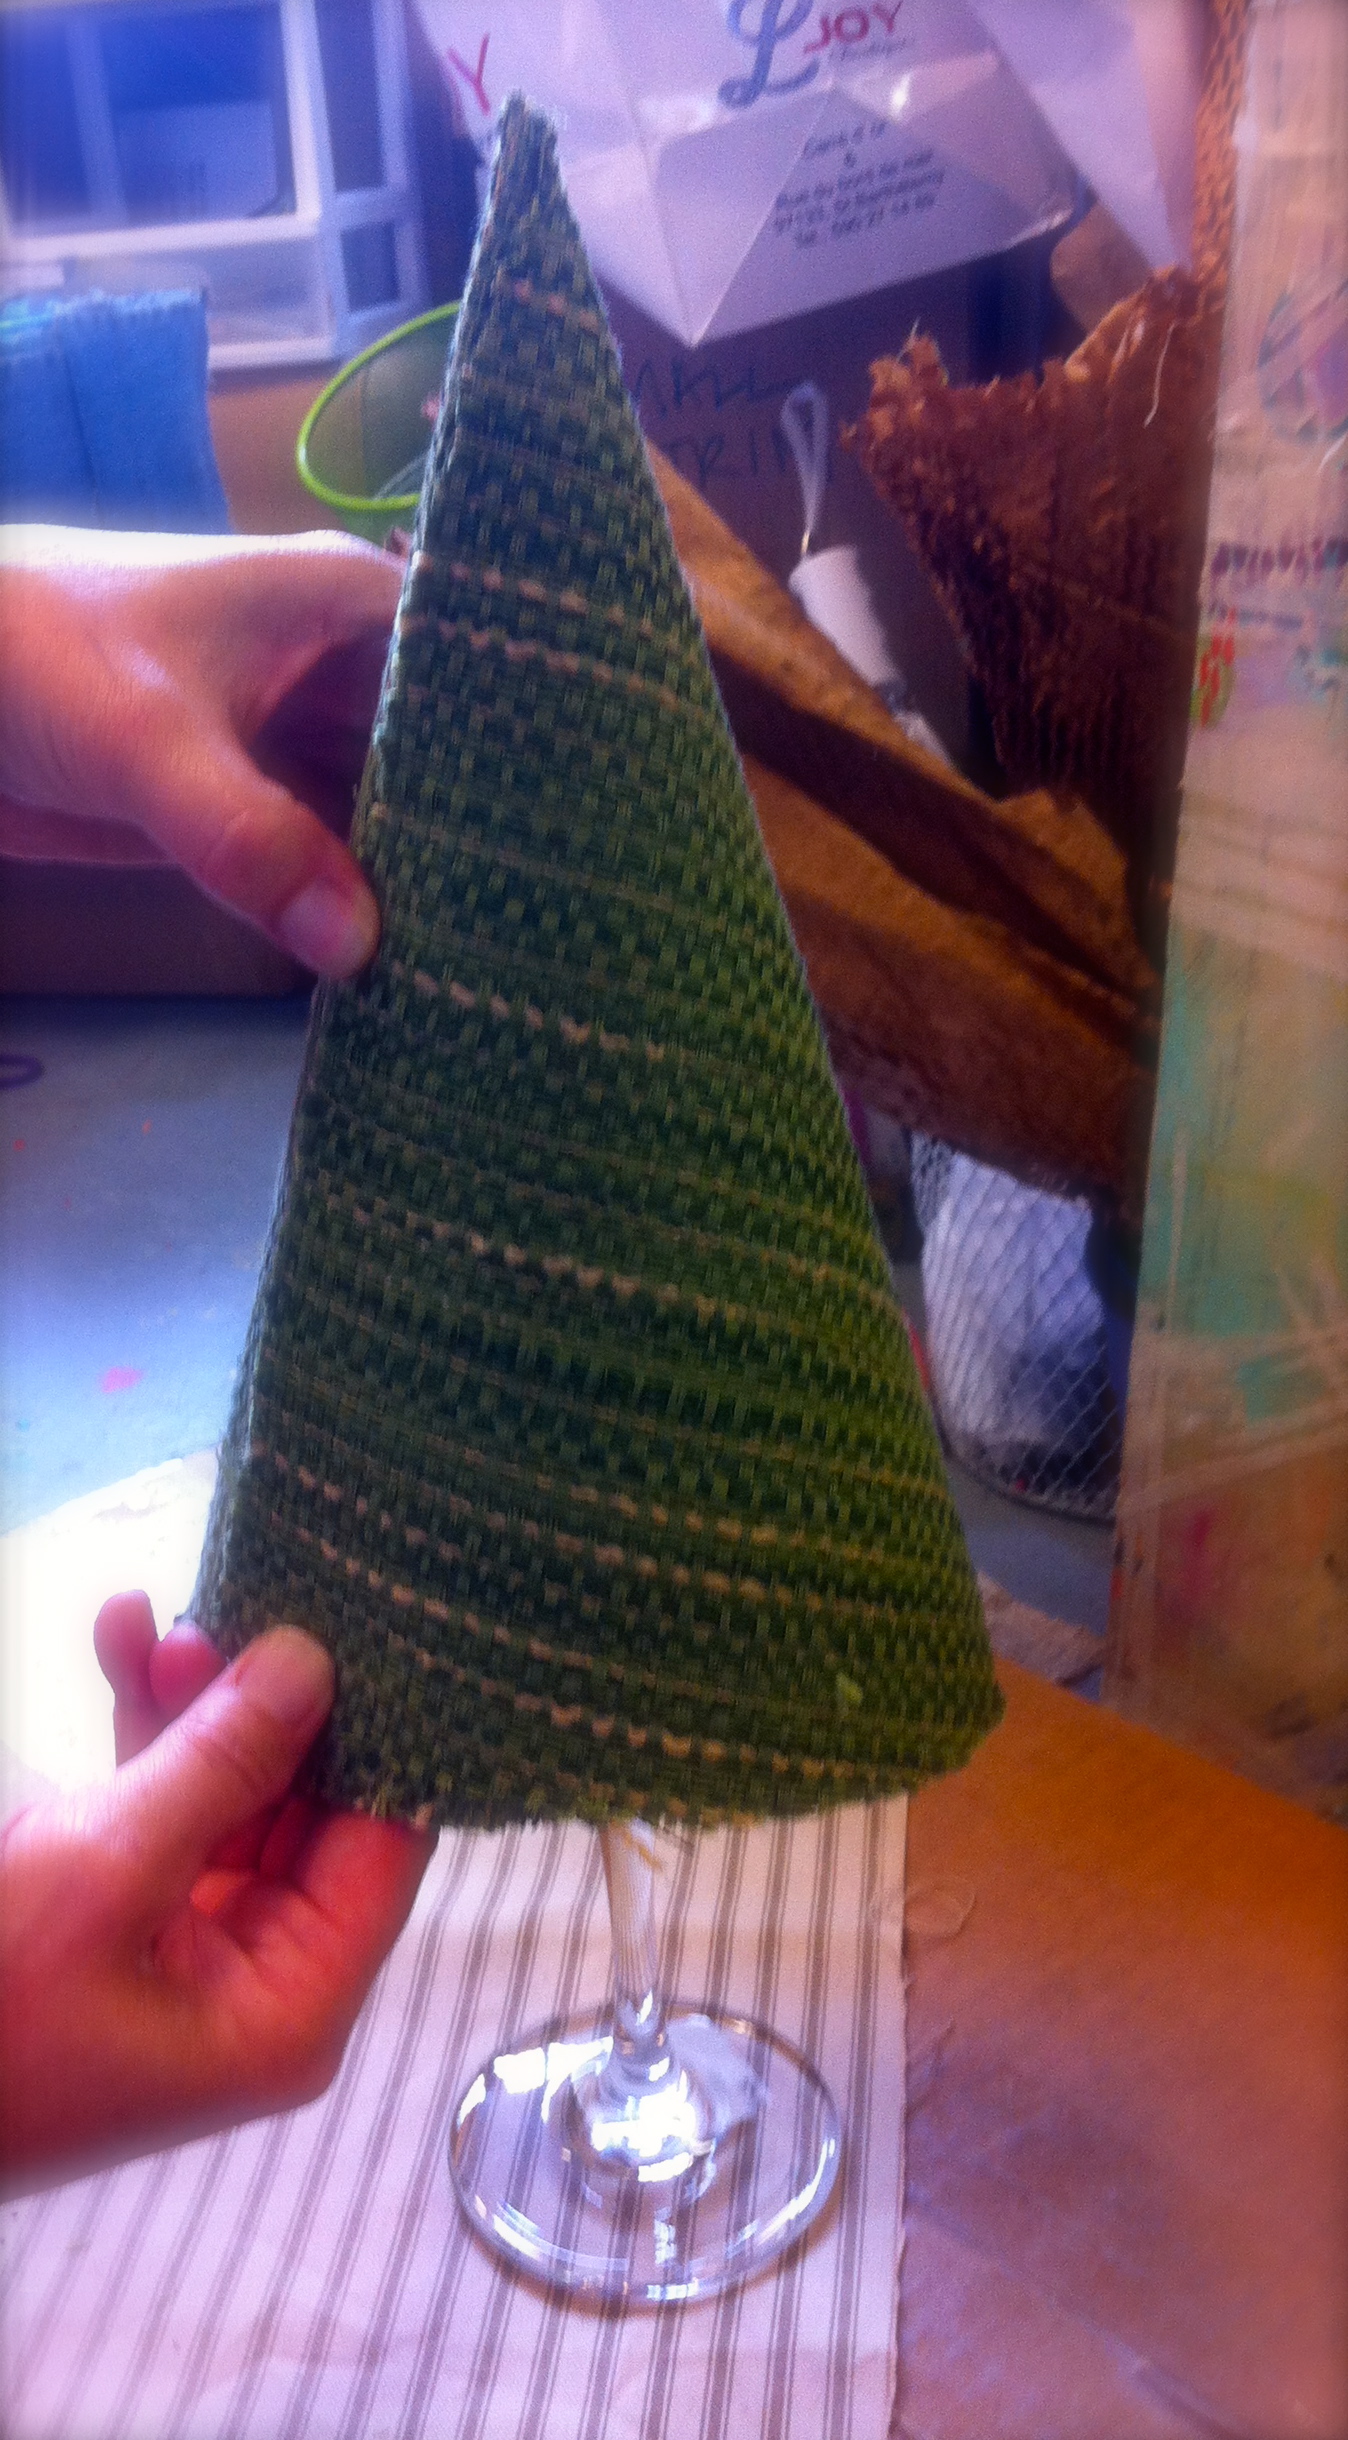
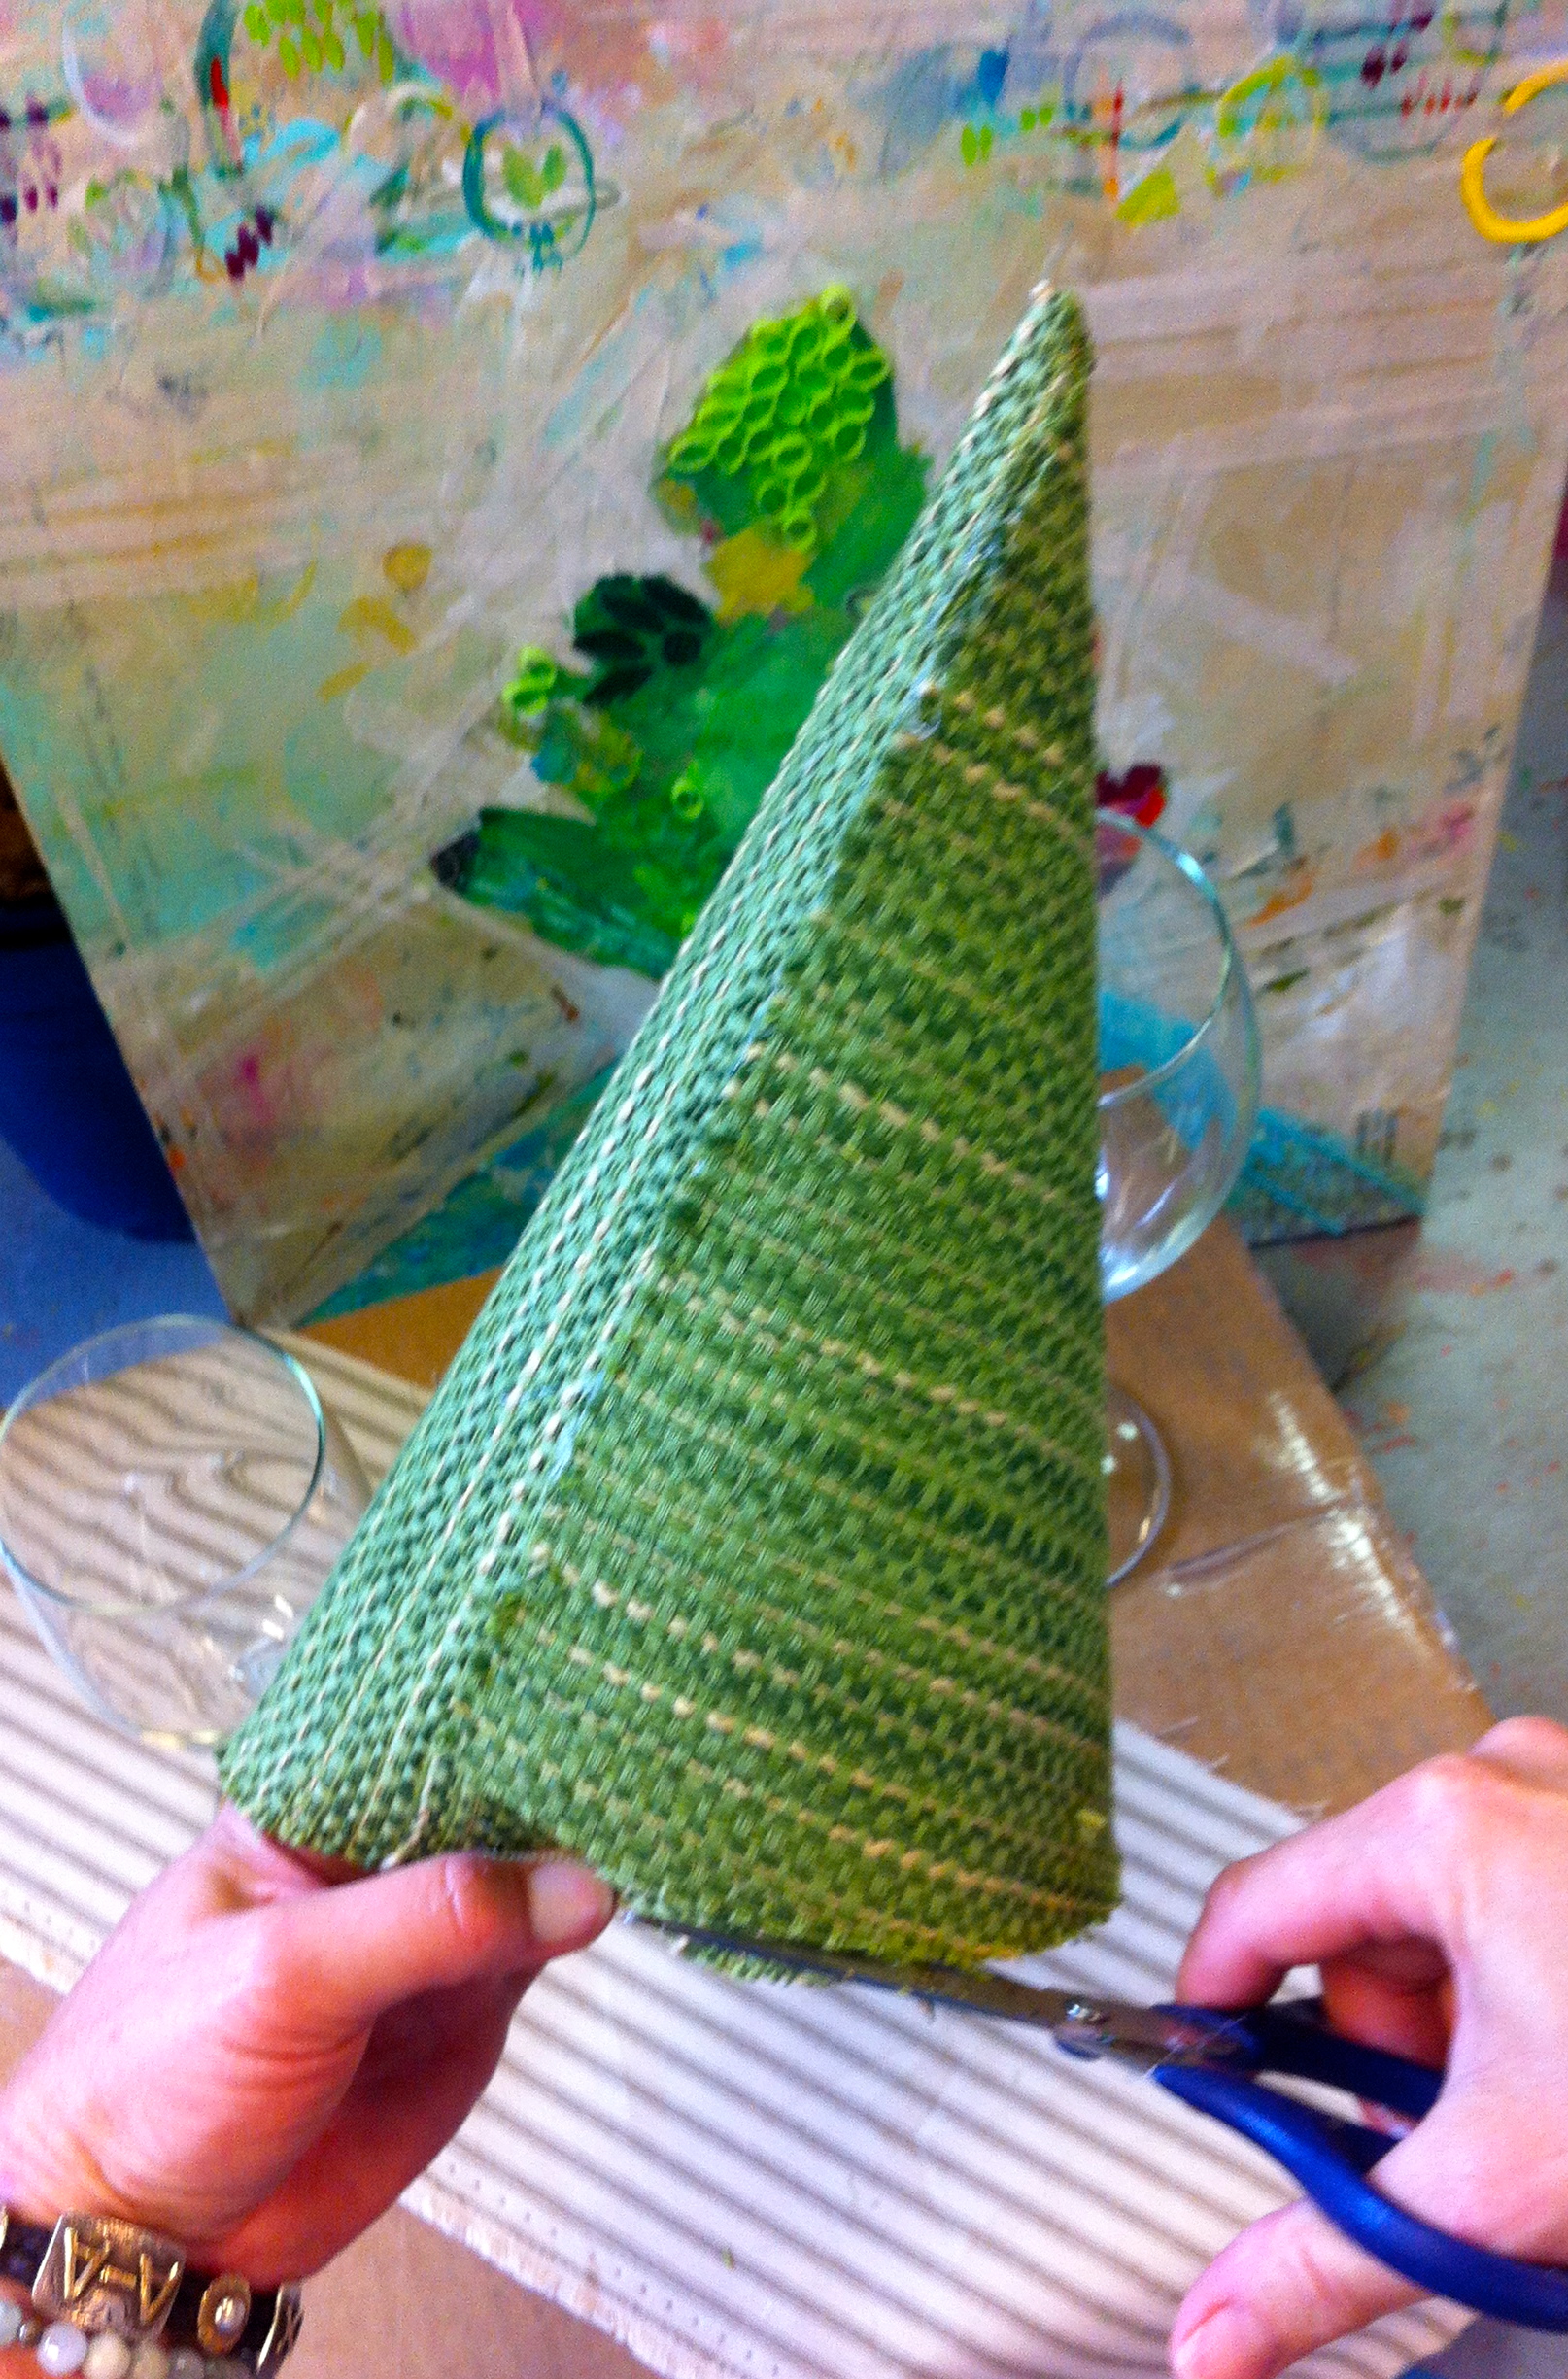
STEP FOUR:
- Wrap the “fabric-paper” into a cone that will fit your wine glass. Using a glue gun, glue the seams together. Cut off bottom if you need to “square up” your cone.


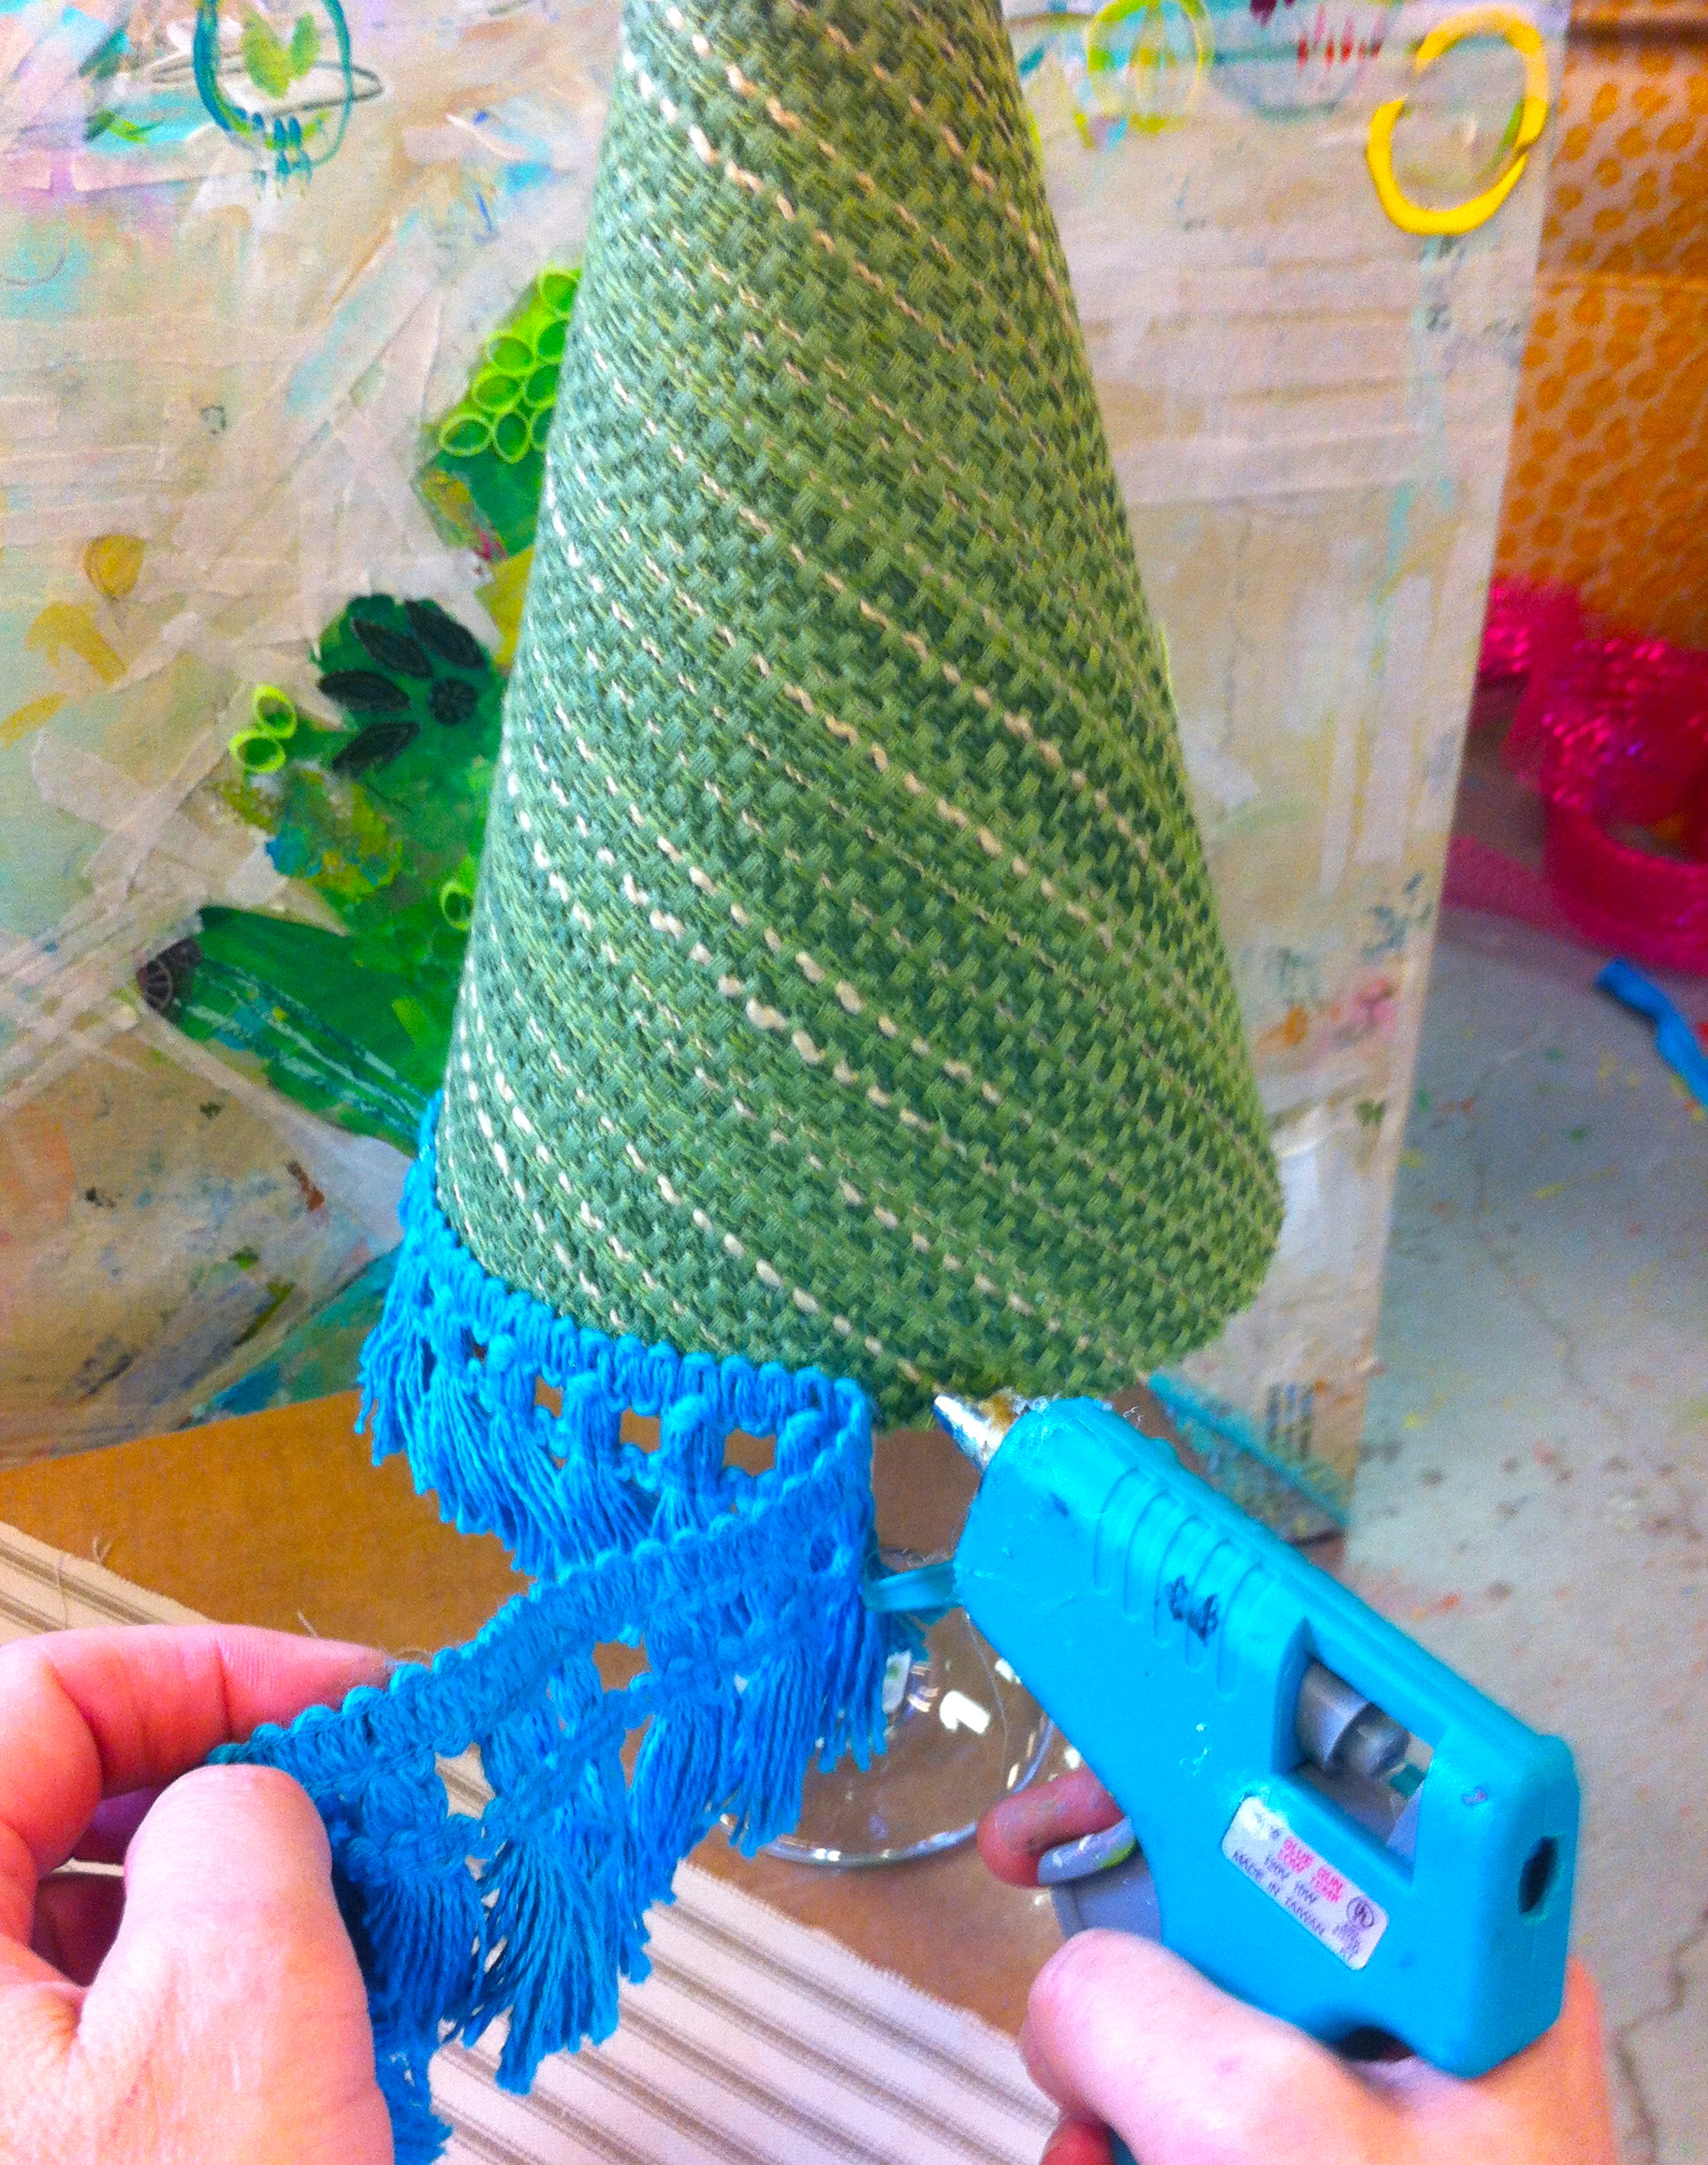
STEP FIVE:
- Add trim and embellish your TREE!
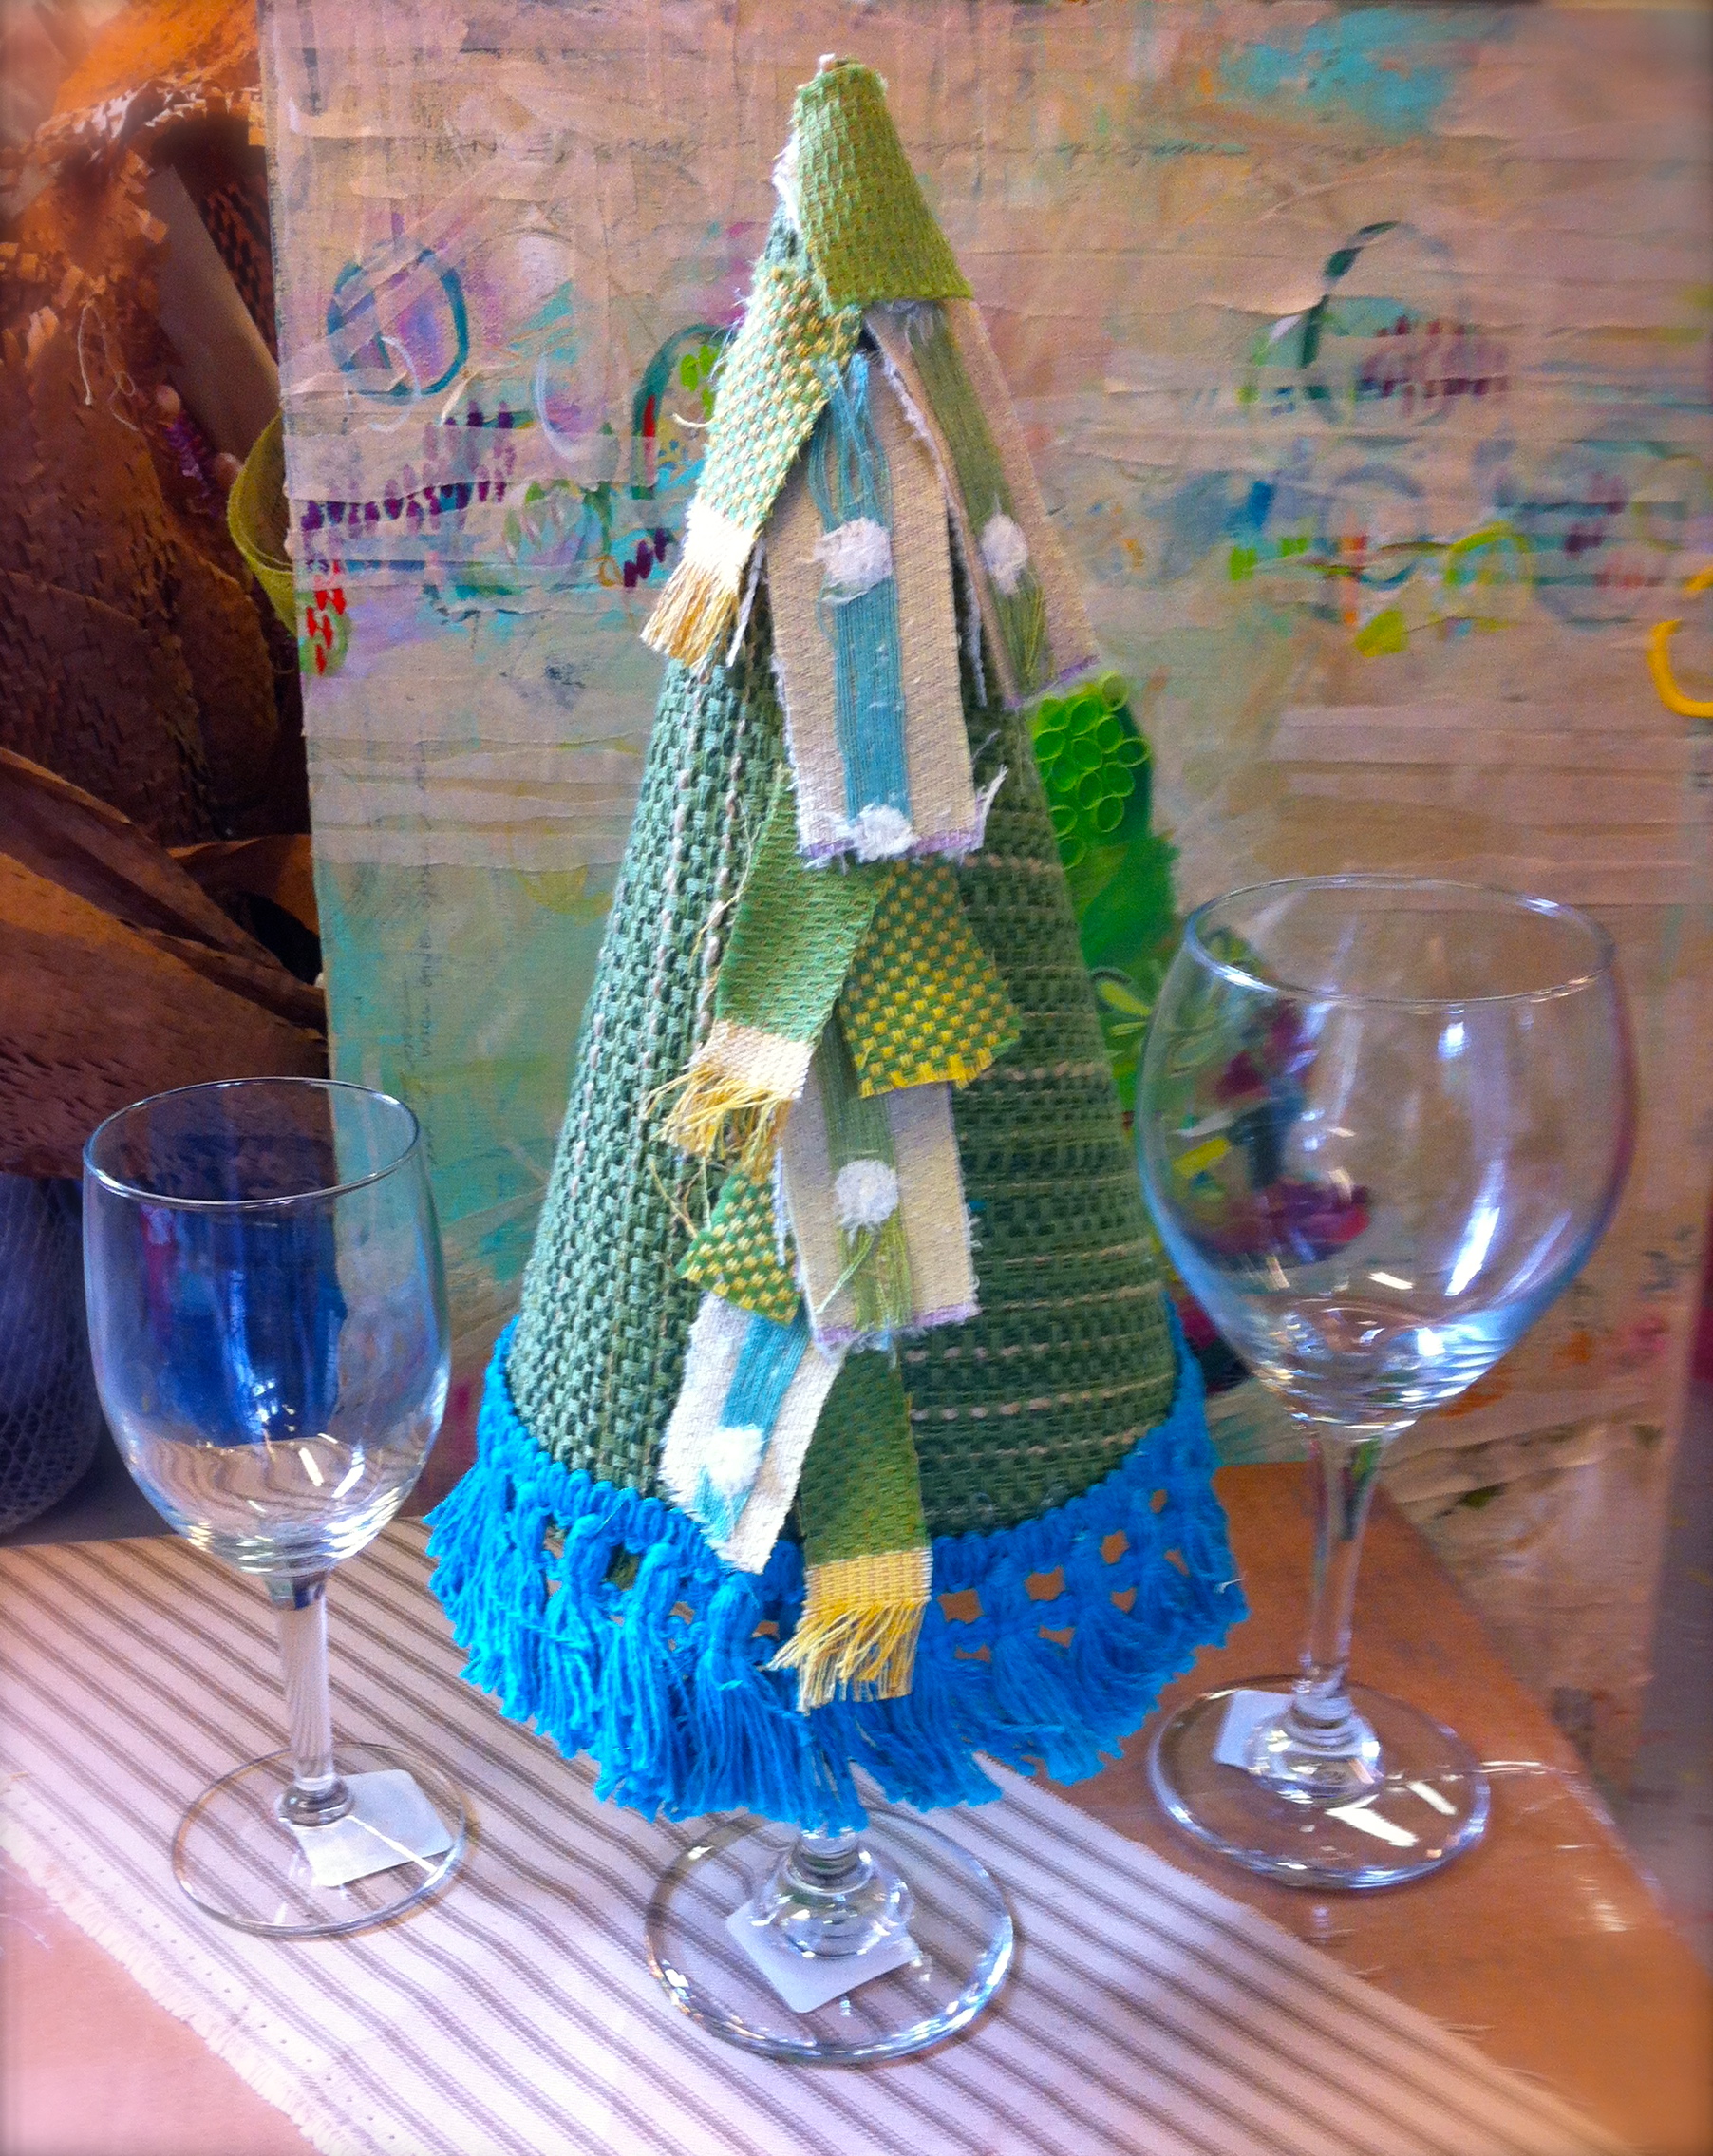
Don’t they look great? The patterns are endless ~ and you could use paper instead of fabric. I can’t wait to do a Lilly one! Have fun!